N|Solid for Cloud Run in GKE
Cloud Run on GKE is a GCP service that provides a simpler developer experience for deploying stateless services to your GKE cluster. To complement convenience with control, the N|Solid base-image for Cloud Run on GKE provides developers with a drop-and-replace Node.js runtime that delivers sophisticated performance insights out of the box and in production with zero code-modification.
What is Google Cloud Run
Cloud Run abstracts away Kubernetes concepts while providing automatic scaling based on HTTP requests; scaling to zero pods; automatic networking; and integration with Stackdriver. Running in your cluster enables access to custom machine types, PC/Compute Engine networks, and the ability to run side-by-side with other workloads deployed into your cluster. Cloud Run on GKE, based on Knative, provides a consistent experience which enables you to run your serverless workloads anywhere: fully managed on Google Cloud, on GKE, or on your own Kubernetes cluster.
Getting Started
Deploying an application with N|Solid is as easy as:
- Signing up for a free account at accounts.nodesource.com
- Setting up your N|Solid Console to GCP
- Deploying your application on CloudRun.
Other Prerequisites
Please ensure you have the following prerequisites covered:
- Make sure Docker is installed
- Create a Google Cloud account. (You can sign up for a free trial!)
- Create a Project in Google Cloud Dashboard (see here).
- Ensure you have the the Google Cloud SDK installed.
Signing up
You can follow these easy steps to get set up with a NodeSource account: here.
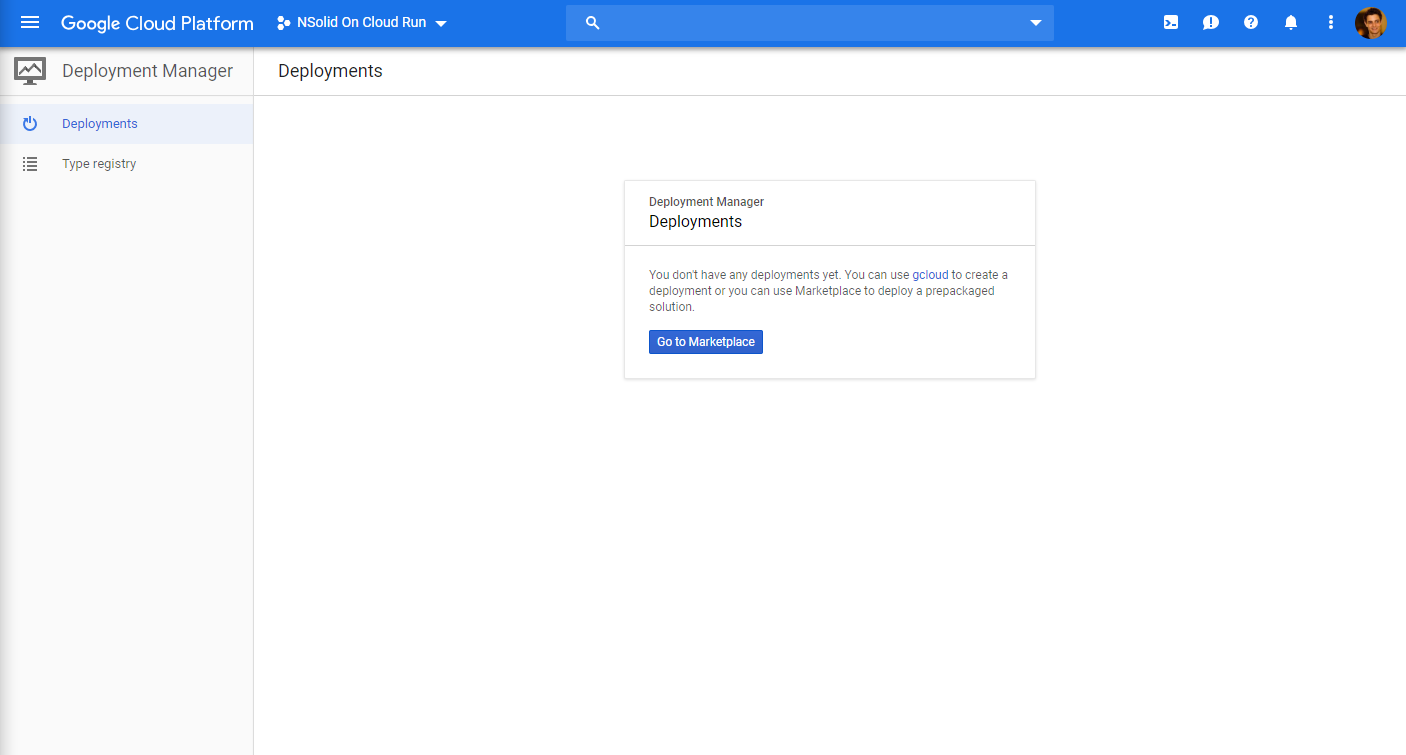
Setting up your N|Solid Console
The N|Solid Console can be set up via the Google Cloud Deployment Manager, which allows you to specify all the resources needed for your application in a declarative format using yaml.
NodeSource provides an easy-to-use deployment template.
Follow these steps to use the Deployment Manager templates:
Visit the GCP Deployment manager at https://console.cloud.google.com/dm
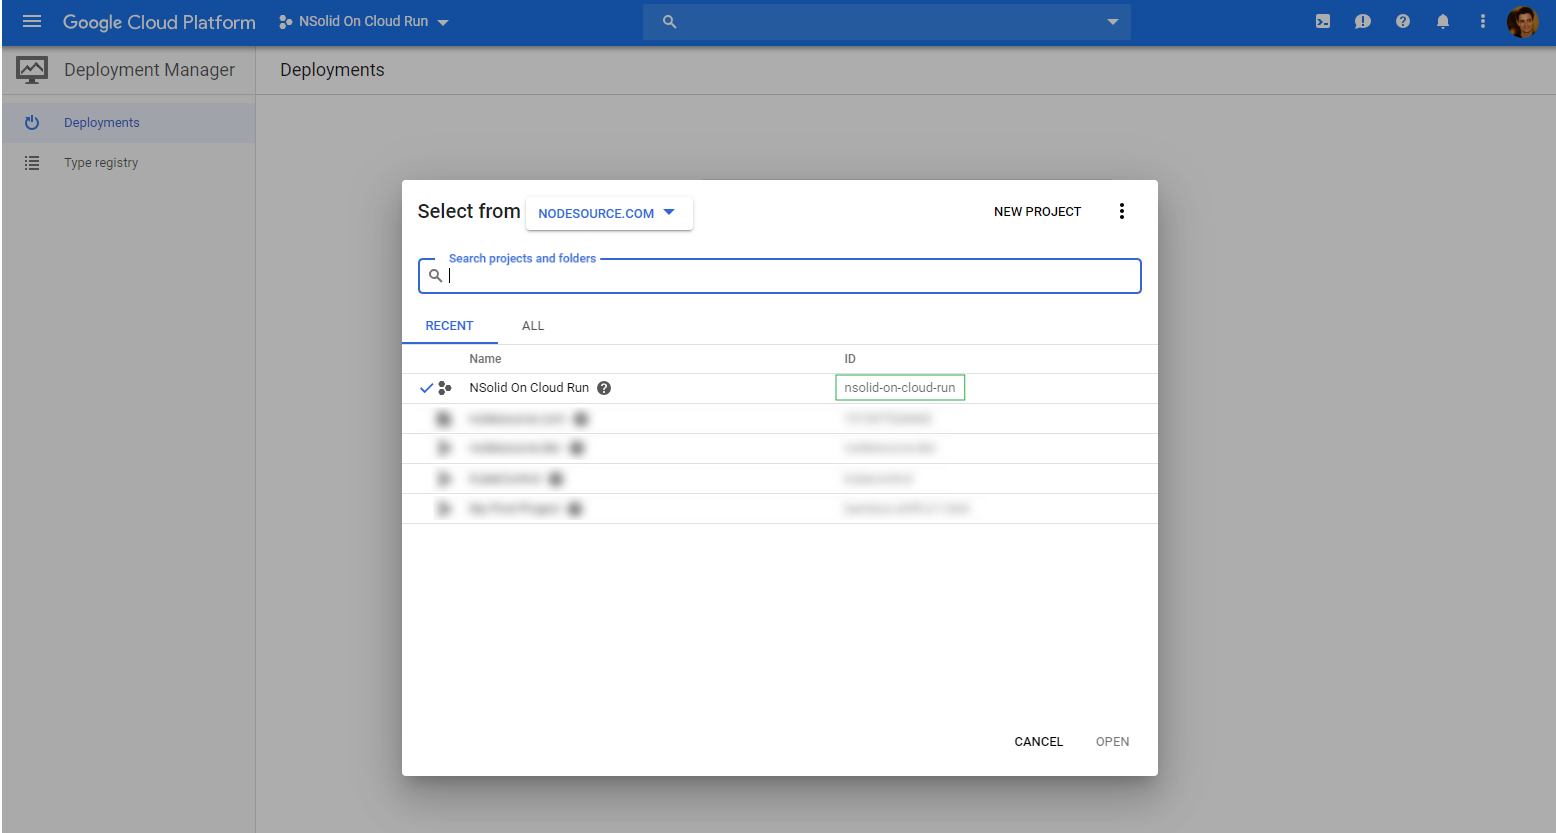
Note down your Project ID
Setup gcloud defaults
  gcloud auth login
  gcloud config set project <PROJECT_ID>
  gcloud config set compute/zone <ZONE>
Your PROJECT_ID can be found in your dashboard
A Cluster is deployed to a single zone. You can find more about zones here. Or you can select one from the list generated from gcloud compute zones list
In a terminal, execute the following template
gcloud deployment-manager deployments create nsolid --config https://raw.githubusercontent.com/nodesource/nsolid-gcp/master/templates/nsolid-console-only/nsolid-console.yaml
Navigating back to the Deployment Manager, you should now be able to see the setup being in progress.
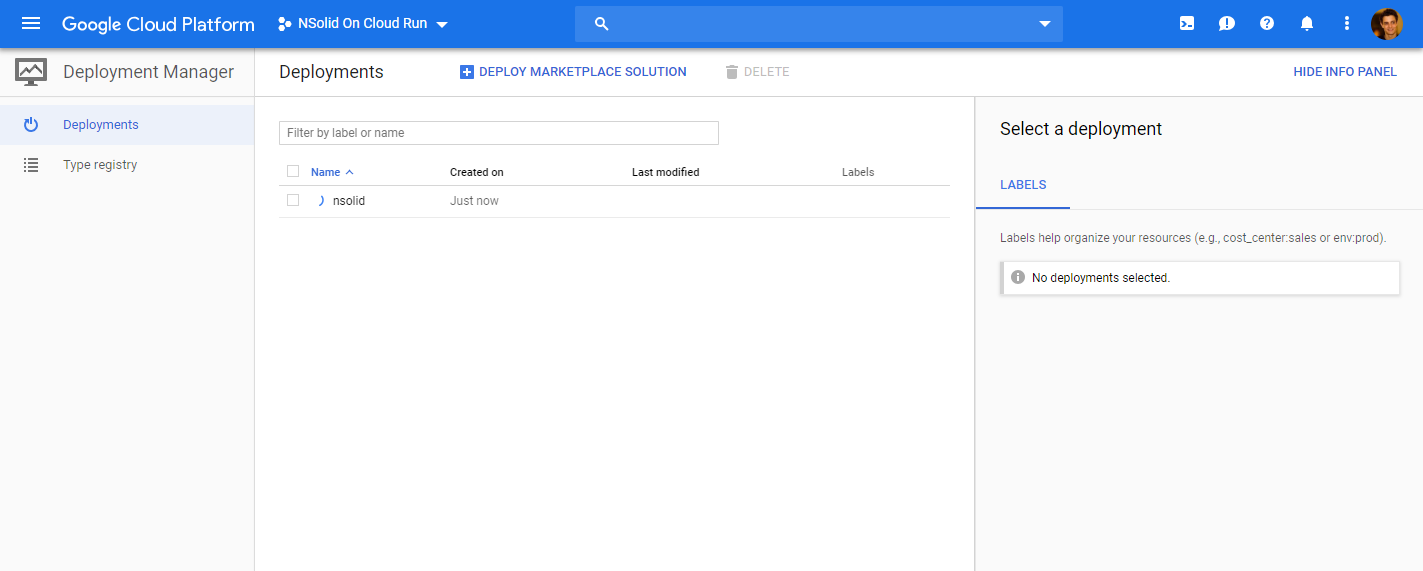
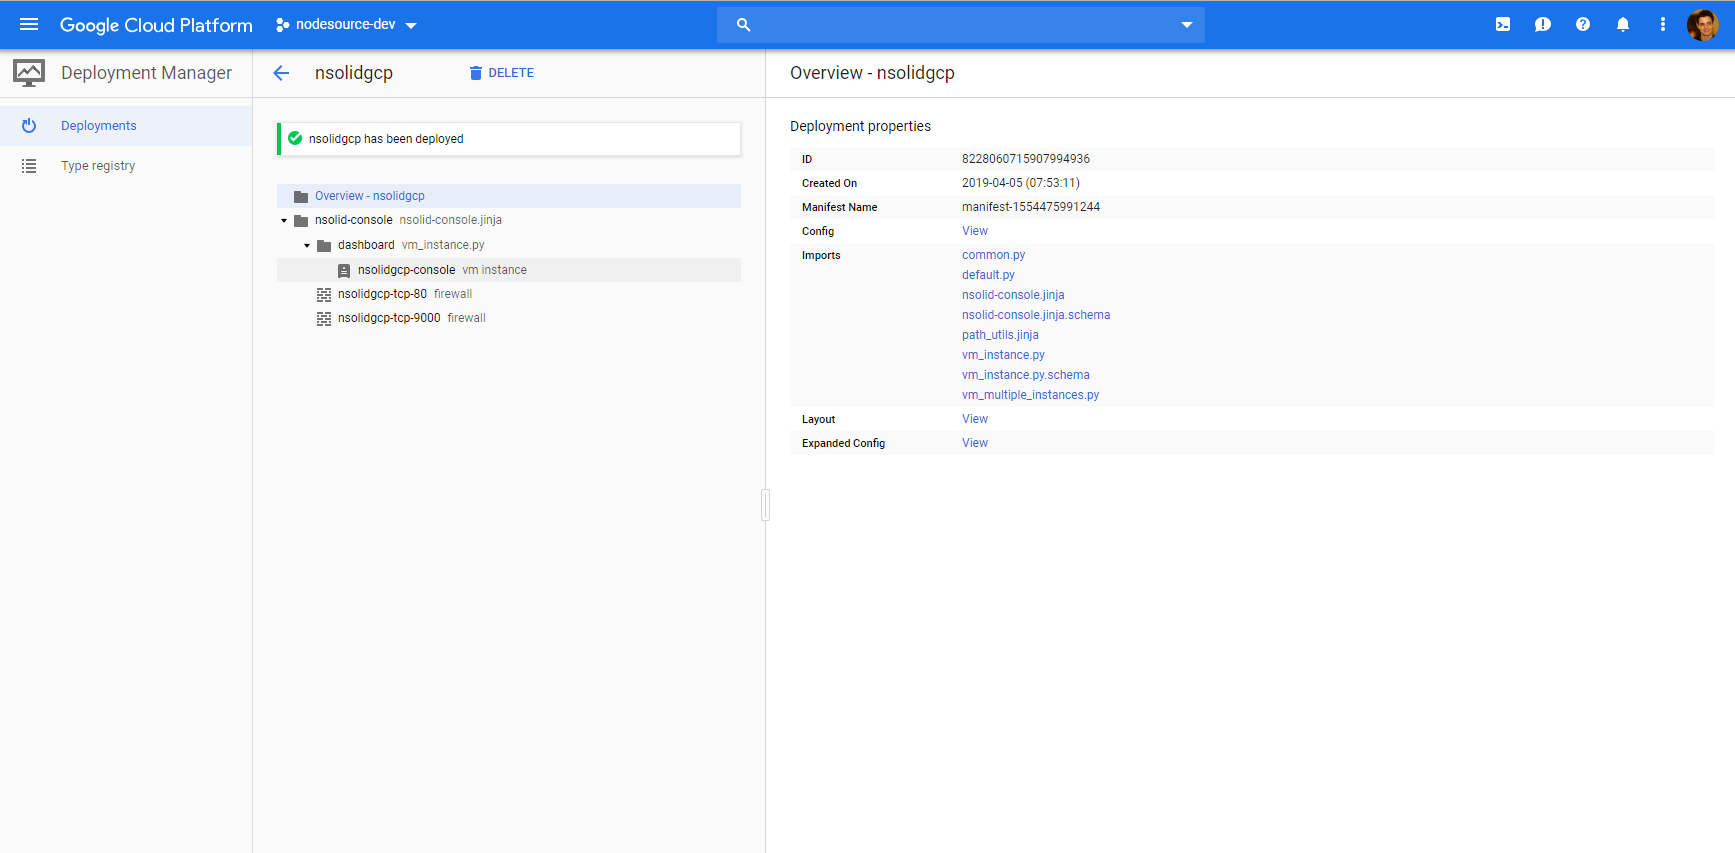
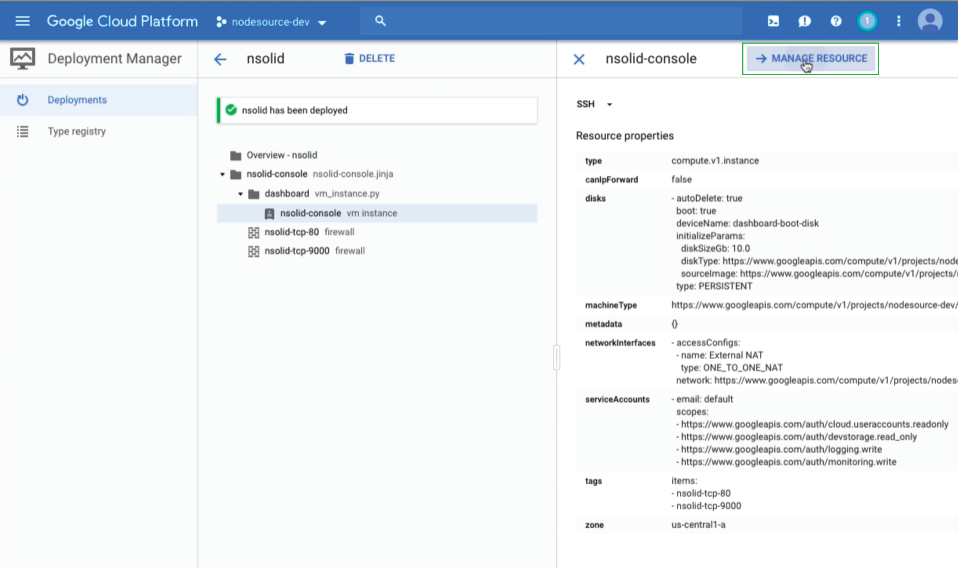
Once deployed you can select nsolid in the Deployment Manager console and see the resources nsolid to run successfull
Select the nsolid console click on Manage Resources in the top right corner
In the resource view locate the external IP and copy it into a browser window
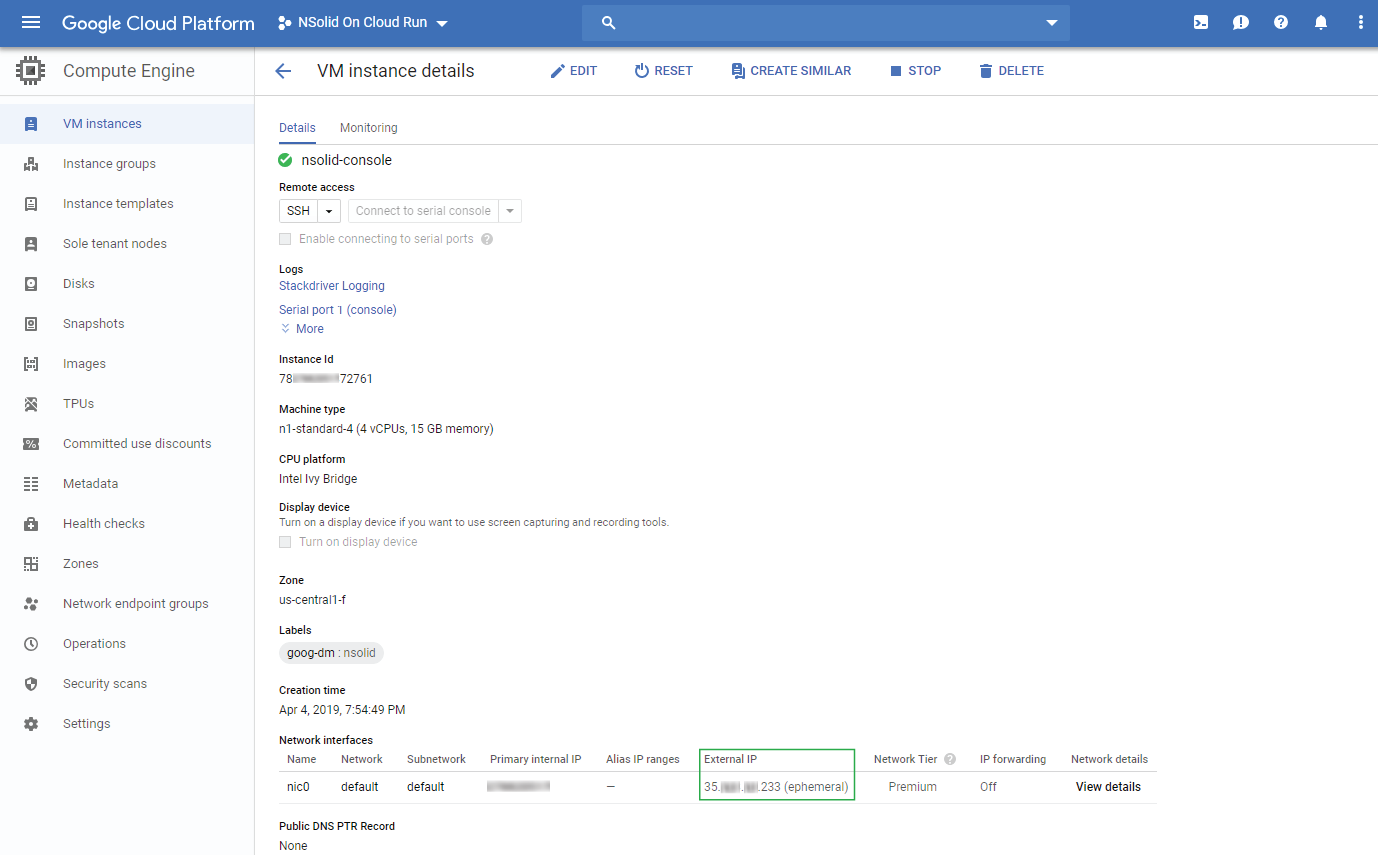
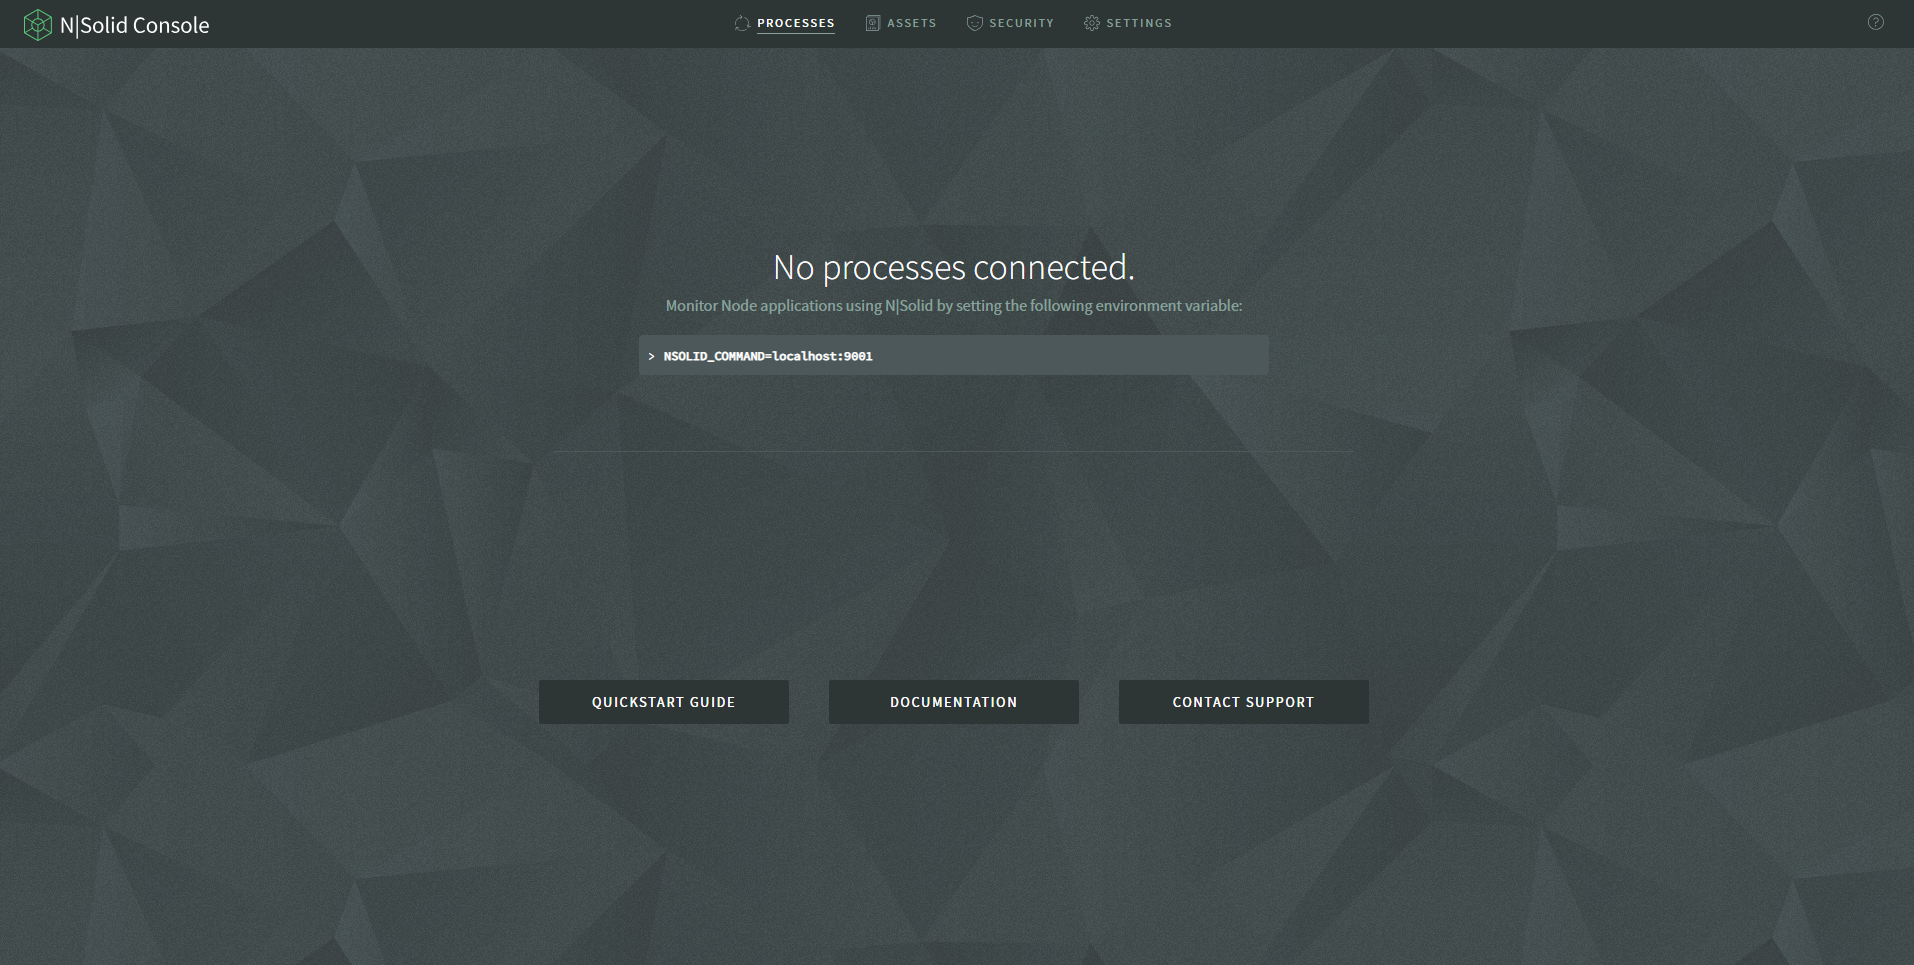
You should be able to access the nsolid console now
Congratulations, you have successfully deployed the nsolid console to GCP.
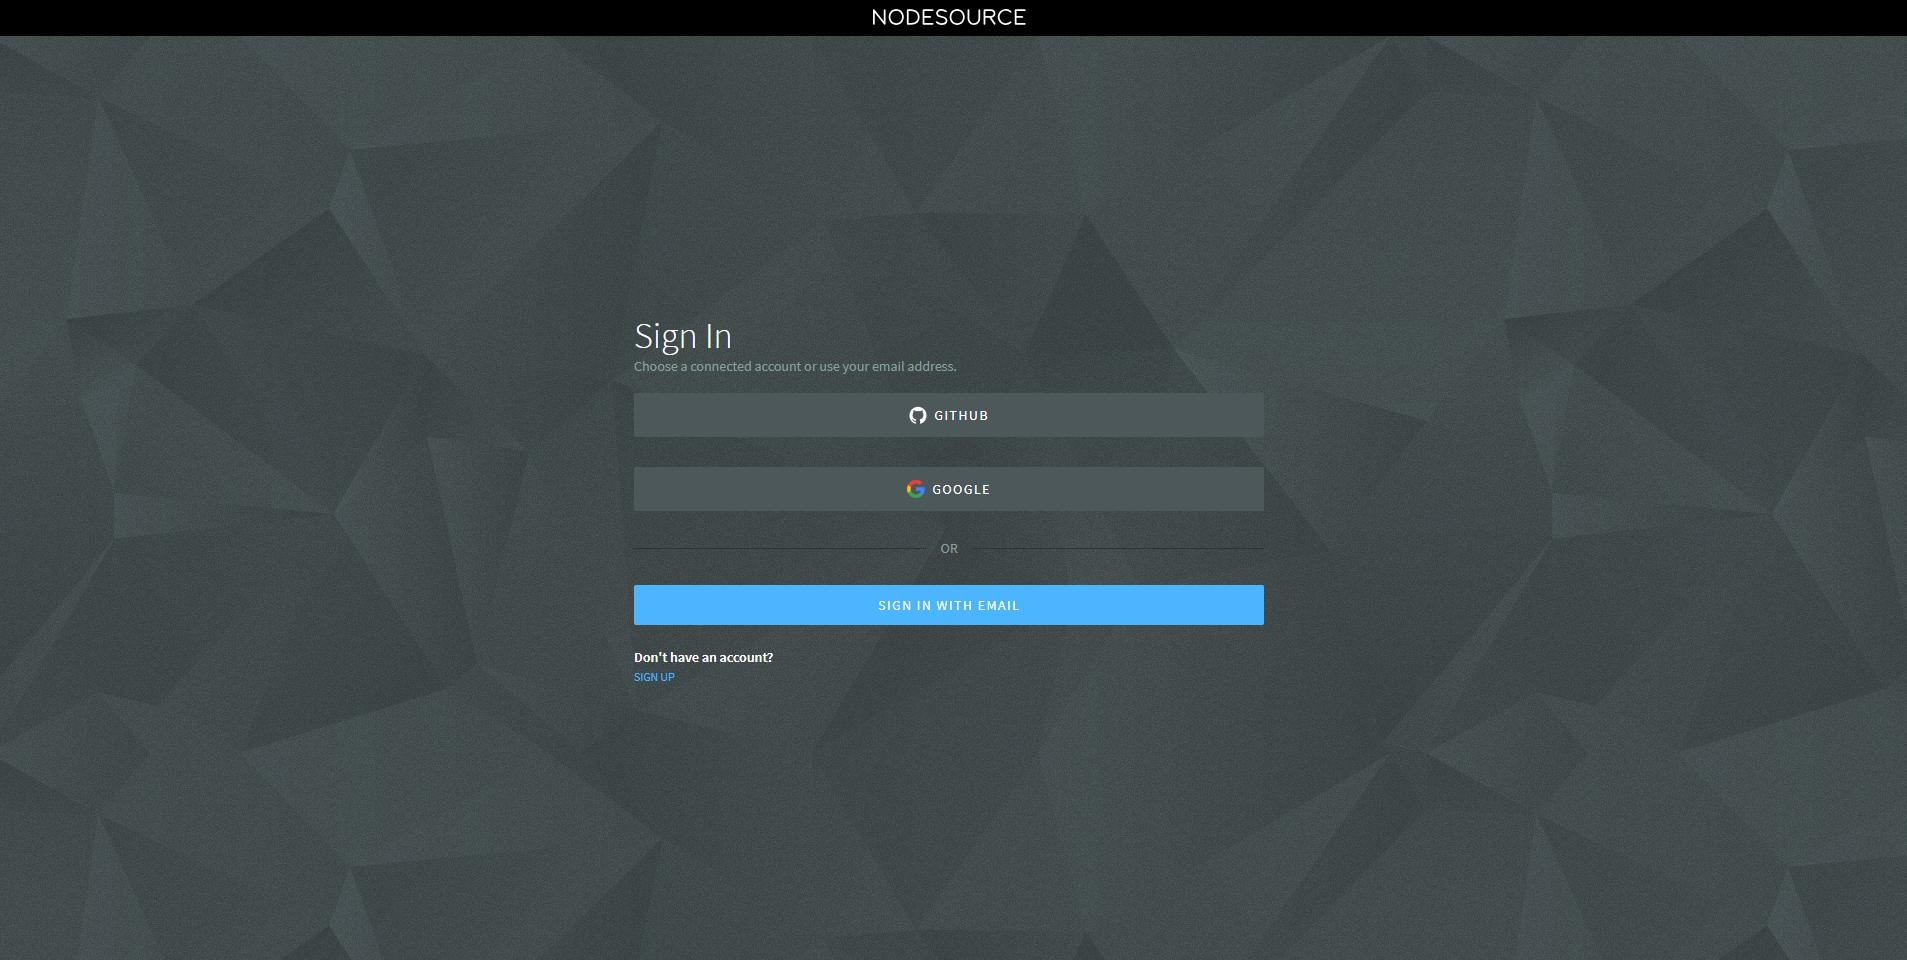
Sign in to the nsolid console using your NodeSource account credentials:
This will allow you to select whether you wish to log in with your personal org organization account.
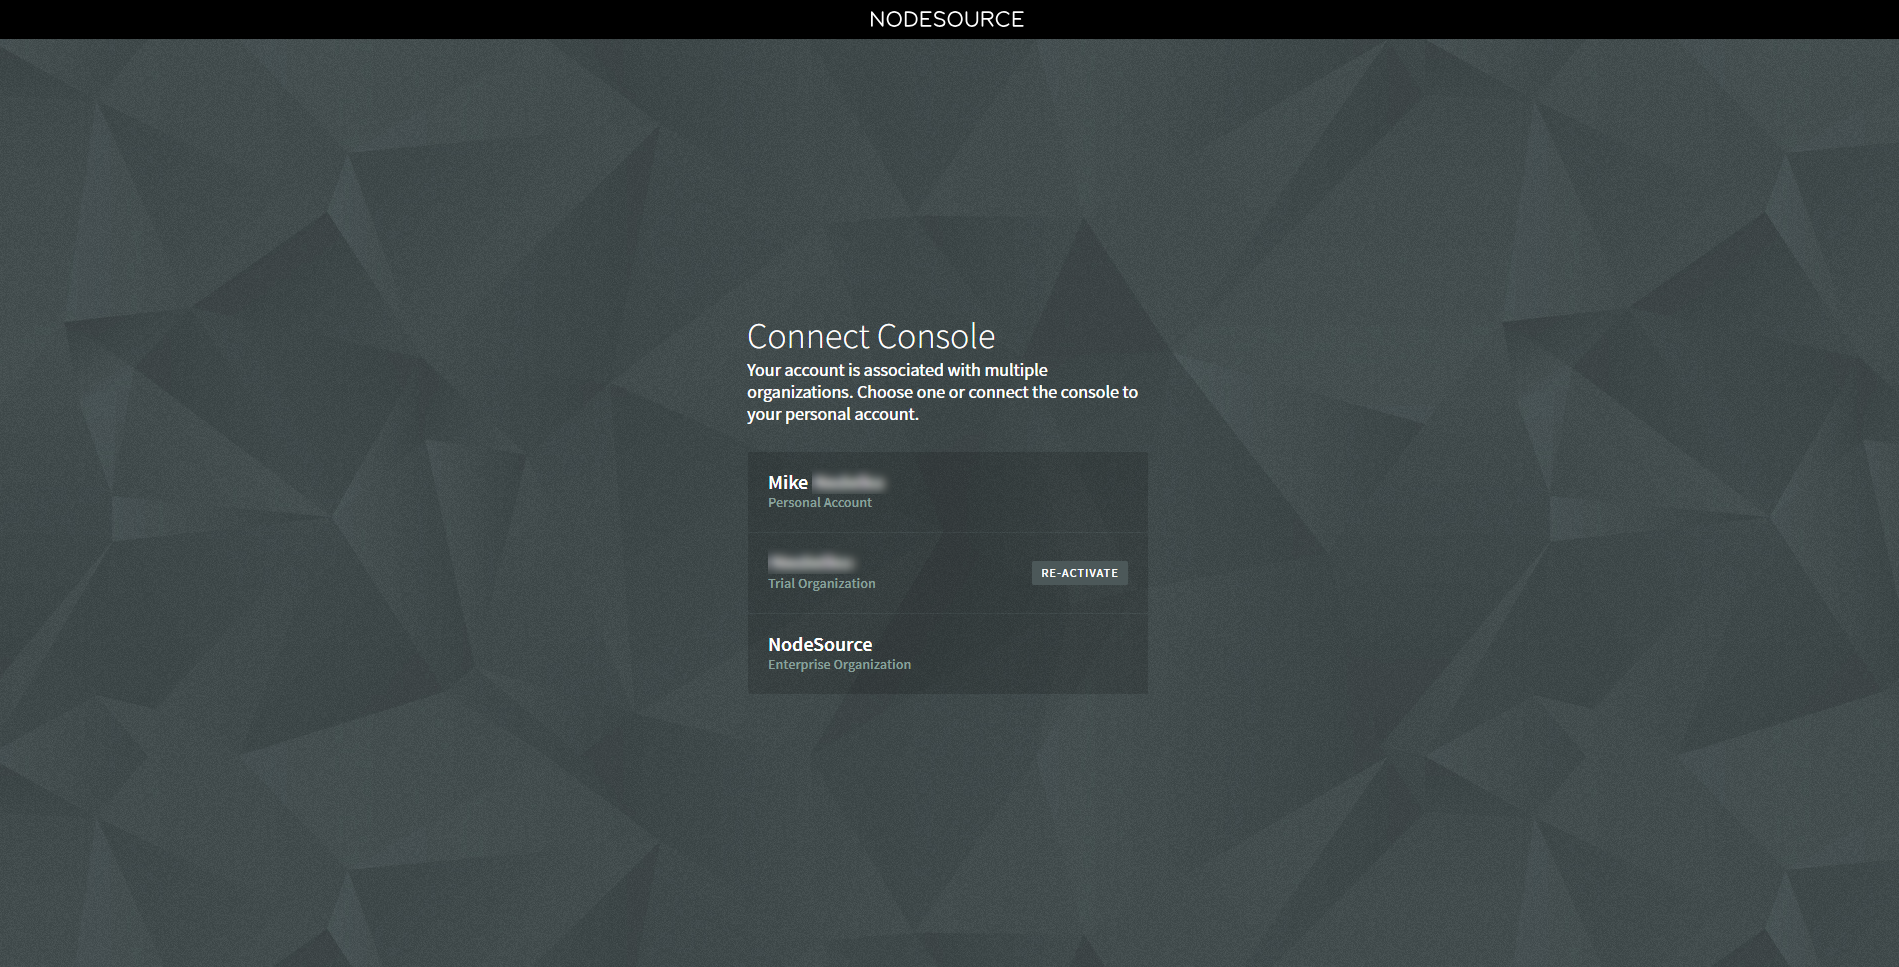
Can`t see your organization on the screen? Visit accounts.nodesource.com to create an organization or contact your console administrator to receive an invitation.
Finally, you will be shown the nsolid console landing view.
The next step is to deploy your Node.js application to CloudRun and connect the runtime to the console so that you can view your application`s process performance and metrics.
Deploying your application on Cloud Run
Deploying your application with N|Solid and hooking it up to your console can be accomplished in a few easy steps.
Add the following docker file to your application (name it Dockerfile - no extensions)
FROM nodesource/nsolid:dubnium-latest

RUN mkdir -p /usr/src/app

WORKDIR /usr/src/app

COPY package.json /usr/src/app/package.json
RUN npm install --production
COPY . /usr/src/app/

ENTRYPOINT ["nsolid", "app.js"]

Now build your docker image
$ docker build -t gcr.io/[project-ID]/walkthrough:latest .
[project-ID] is the ID you captured in 'step Note down your project ID'.
Push your Docker image to the Google Container Registry
$ docker push gcr.io/[project-ID]/walkthrough:latest
[project-ID] is the ID you captured in 'step Note down your project ID'.
Note: Should you receive a warning that you don't have the needed permissions to perform this operation you can review GCP`s advanced authentication methods here.
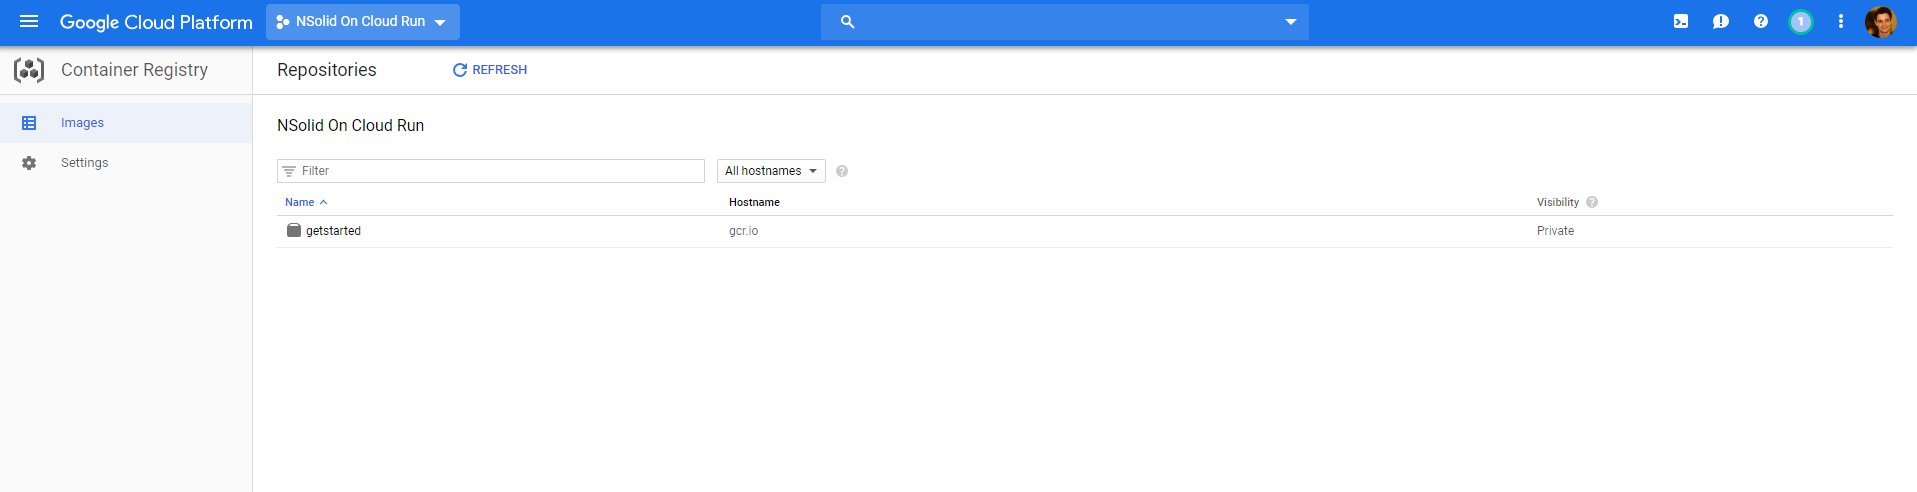
To check whether you image has been successfully pushed go to https://console.cloud.google.com/gcr/images to see your image listed here:
Set up your Kubernetes Cluster on GKE
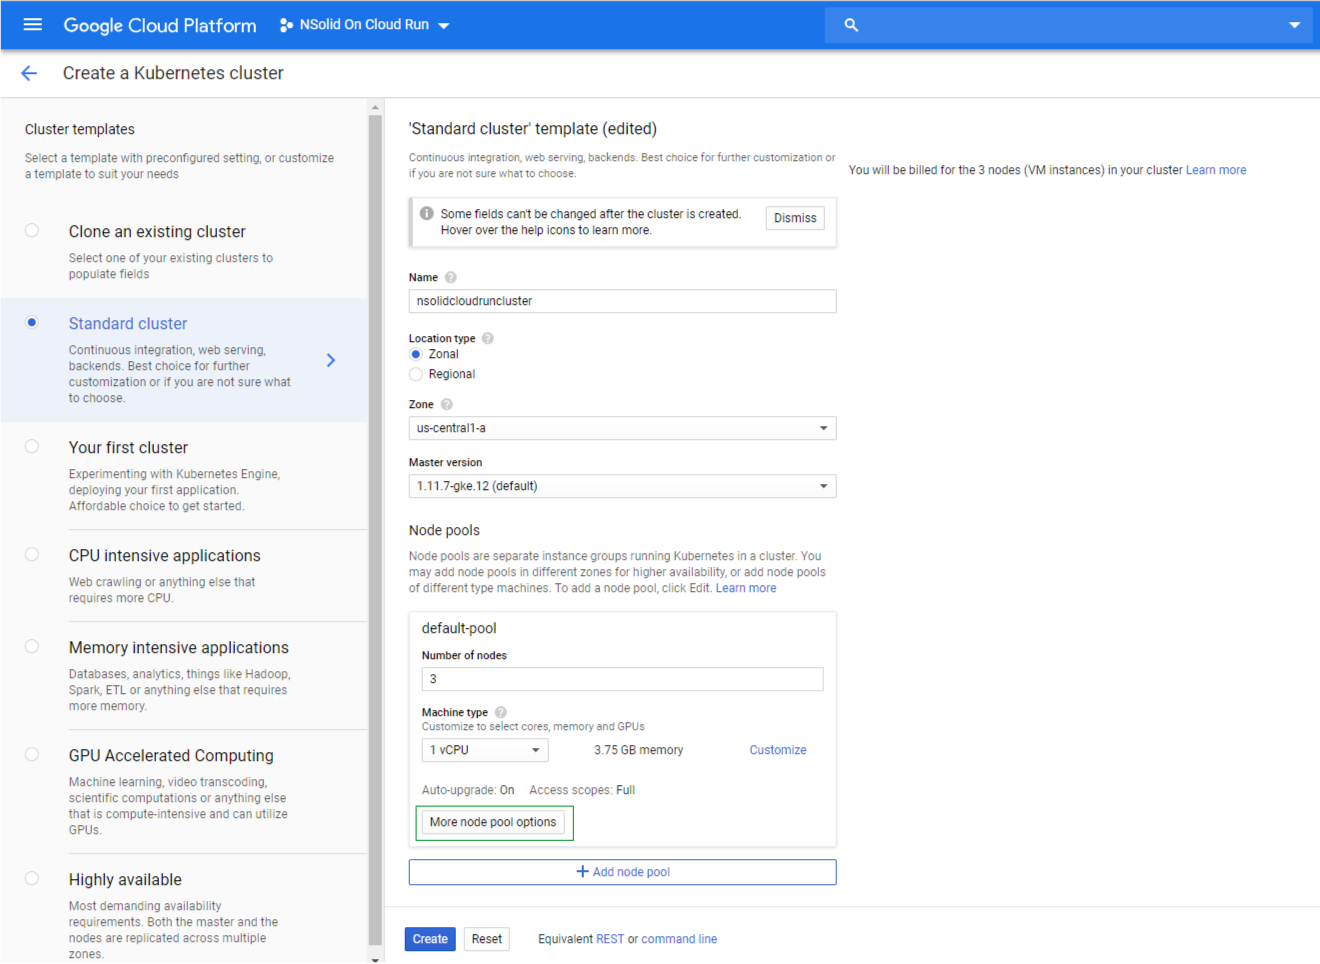
Visit console.cloud.google.com/kubernetes and create a new cluster:

Complete the form and select the More node pool options button
Select the Allow full access to all Could APIs option:
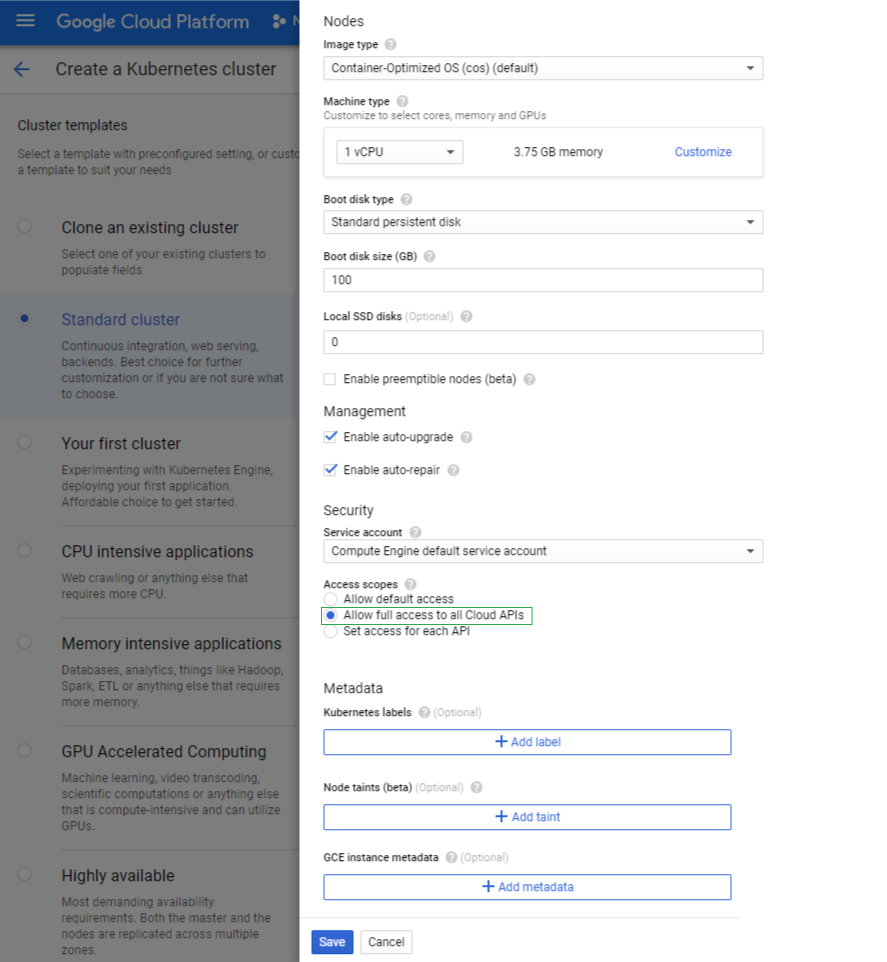
Select Save and Create to create your cluster.
Set up you cloud service with Cloud Run
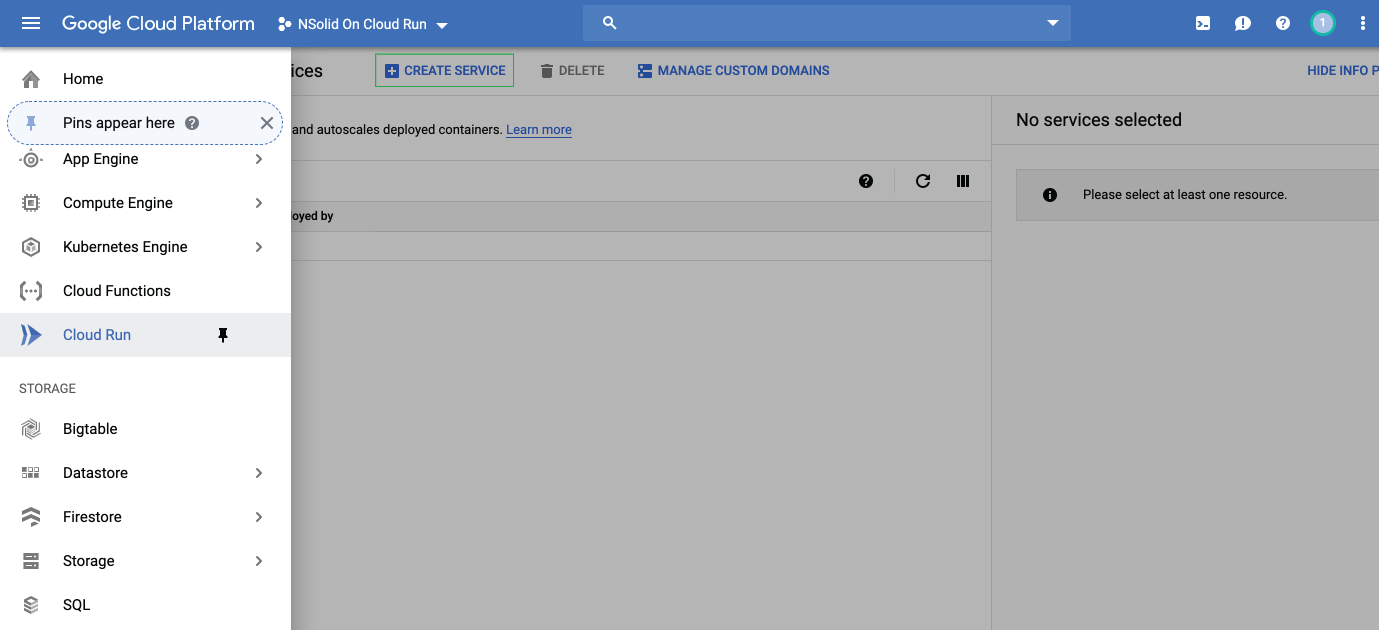
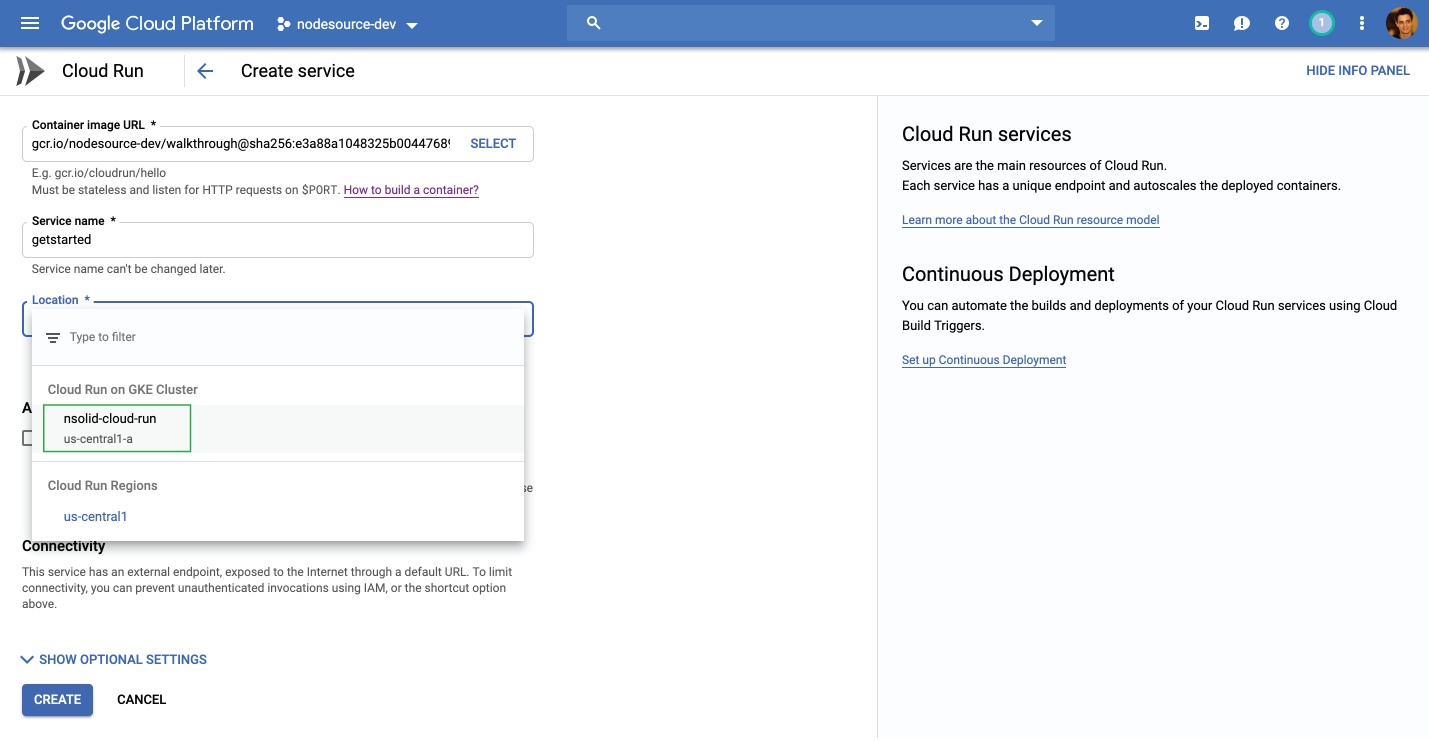
Visit console.cloud.google.com/run and select CREATE SERVICE
Under container image URL select the image you pushed in step Push your Docker image to the Google Container Registry.
Next select your GKE Cluster you created in step 'Set up you Kubernetes Cluster on GKE'.
In the show optional settings section, add the following environmental variables:
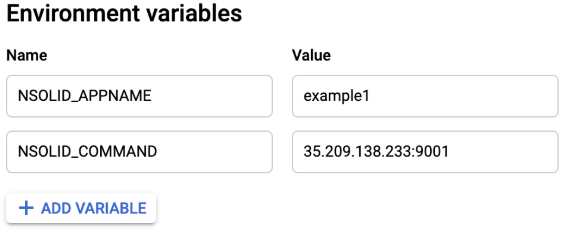
The NSOLID_COMMAND environmental variable comprises of two components.
[External IP]:[Port]
[External IP]: This is the external IP of your console deployment see here
[Port]: This is the port number displayed on the N|Solid console once you successfully authenticated.
Create the service.
Patch your Kubernetes cluster to enable egress for a Cloud Run service
As a last step you will be required to patch your kubernetes cluster.
In a terminal type:
$ gcloud container clusters describe [CLUSTER_NAME] | grep -e clusterIpv4Cidr -e servicesIpv4Cidr
Where [CLUSTER_NAME] is replaced with our cloud run cluster that was set up Set up you Kubernetes Cluster on GKE Step.
This will produce the following output:
clusterIpv4Cidr: 10.XX.X.X/XX
servicesIpv4Cidr: 10.XX.XXX.X/XX
Finally run:
$ kubectl patch ksvc [SERVICE_NAME] --type merge -p '{"spec":{"runLatest":{"configuration":{"revisionTemplate":{"metadata":{"annotations":{"traffic.sidecar.istio.io/includeOutboundIPRanges": "[IP_ADDRESS_RANGES]"}}}}}}}'
Where [SERVICE_NAME] is replaced with the name of your Cloud Run name you chose in Set up you cloud service with Cloud Run.
Replace [IP_ADDRESS_RANGES] with the output of the previous command, comma separated.
In this case 10.XX.X.X/XX, 10.XX.XXX.X/XX.
This will only have to be done once per new service.
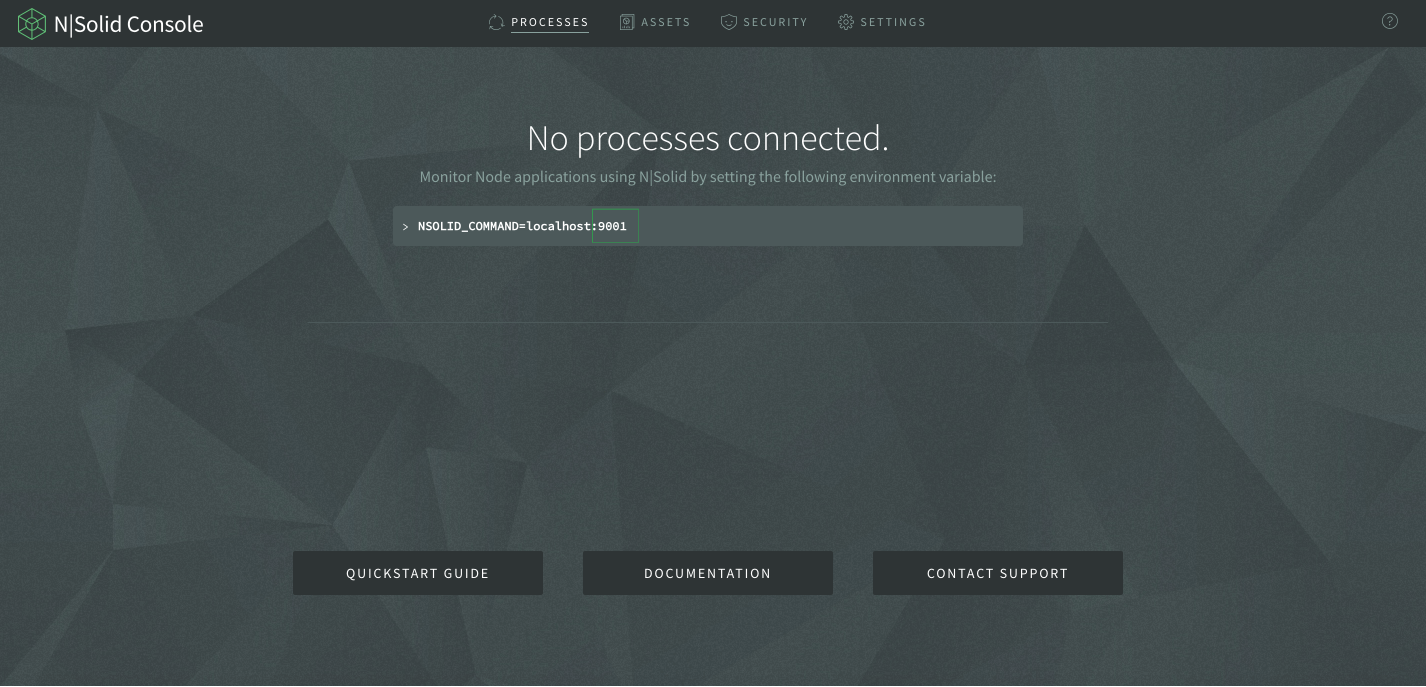
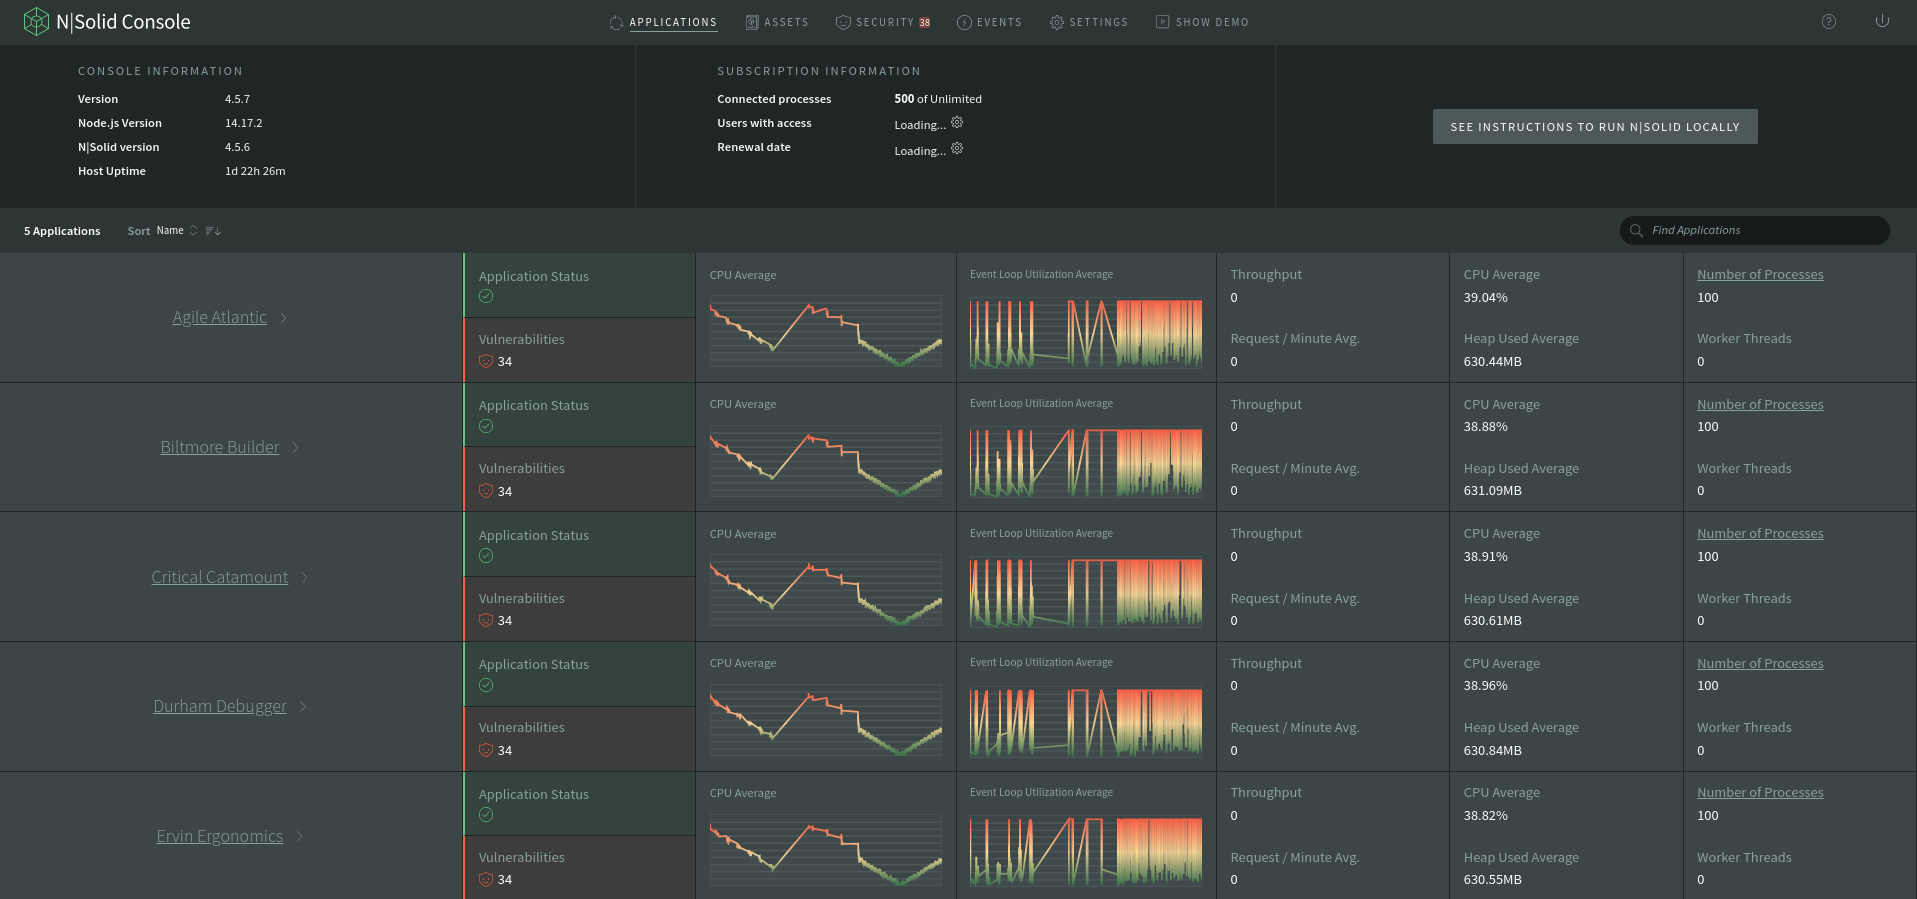
When navigating back to the console you should now see your application's processes in NSolid's application overview
Congratulations. You successfully deployed the nsolid console and an application to Cloud Run.
