Quick Start Guide
This guide will help you try N|Solid on Linux, macOS or Windows 10 locally. It provides a quick, zero-config way to try NSolid or install all of the components onto your development machine on macOS.
PLEASE NOTE: THIS WAY OF RUNNING NSOLID IS MEANT FOR LOCAL TESTING ONLY! For production deployments please refer to the documentation below.
NSolid in Production
For instructions on installing the individual components for a production cluster on Linux or Windows 10, please refer to the the installation guide.
Try N|Solid
Using one simple npx command, you can try NSolid by using a self-guided demo, run and diagnose your own application or execute an NPM task you can observe locally.
Access
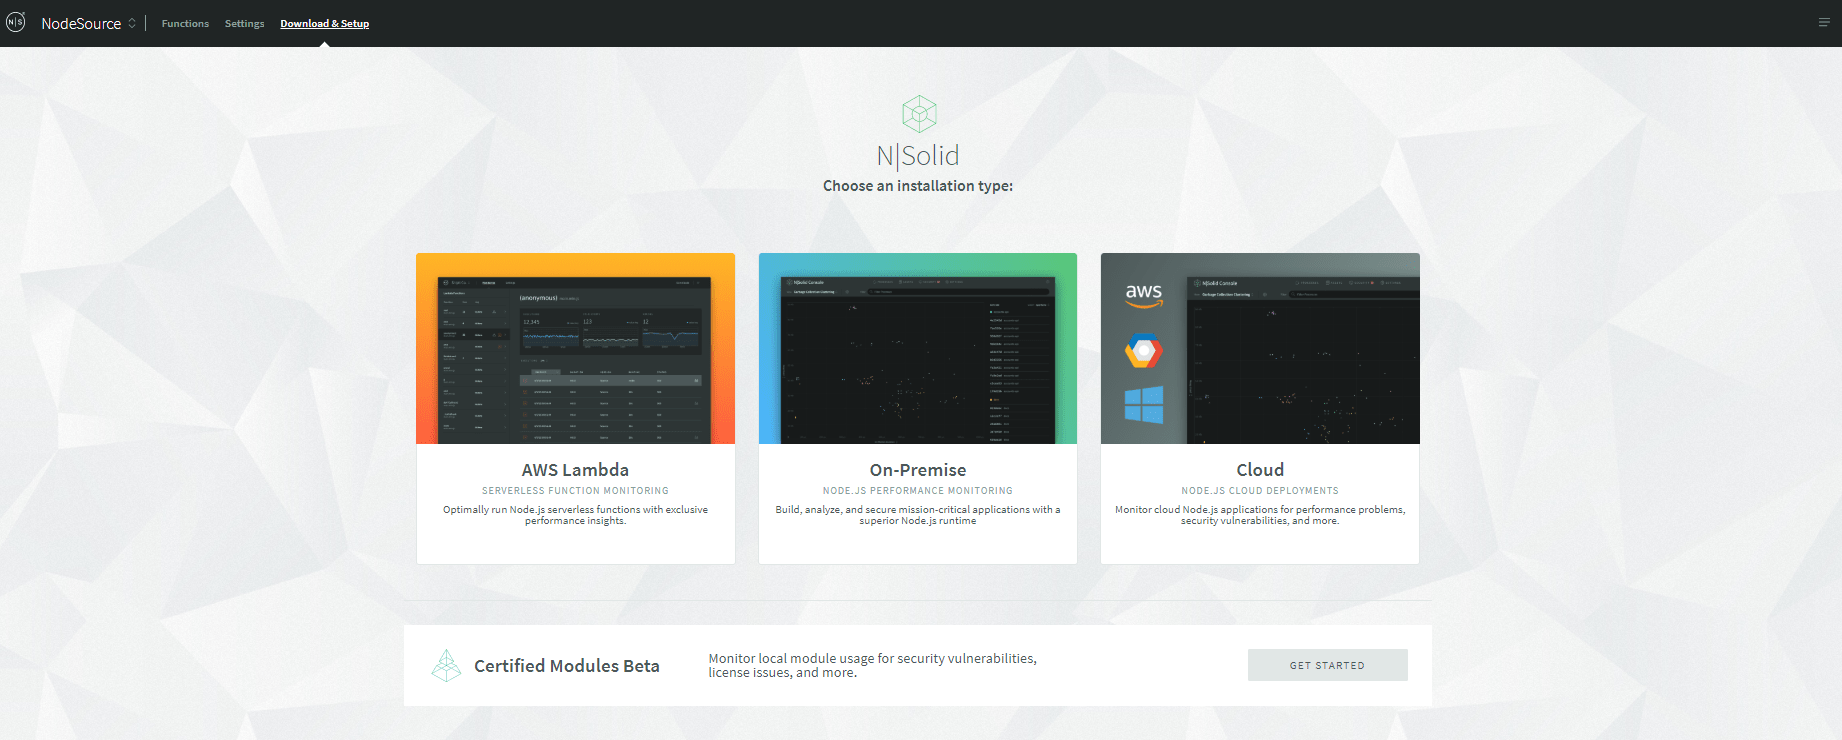
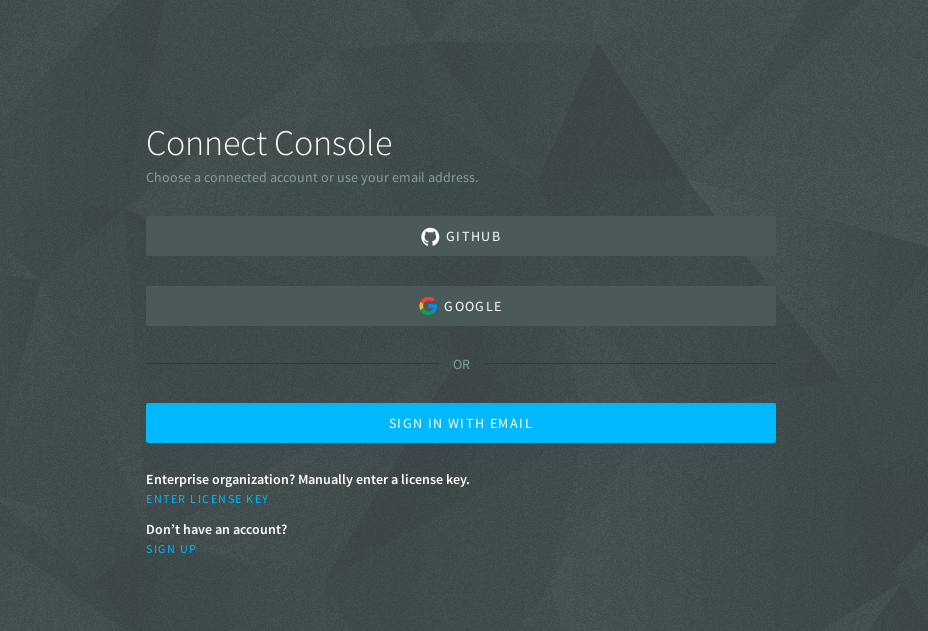
To try N|Solid visit accounts.nodesource.com and sign up for a free account. Setting up an account is free and requires no credit card information. Select the ‘Try NSolid’ option, and follow the prompts.
Try N|Solid - Demo
Using the 'npx nsolid-quickstart' command loads N|Solid into your local cache where it will be executed without actually having been installed. This setup method was designed for frictionless ease of use. npx is a npm package runner (x probably stands for eXecute). The typical use is to download and run a package temporarily or for trials.
It is not recommended to use this method in production. We provided separate setup instructions for on-prem here and cloud deployments here.
To run the demo simply execute:
$ npx nsolid-quickstart --demo
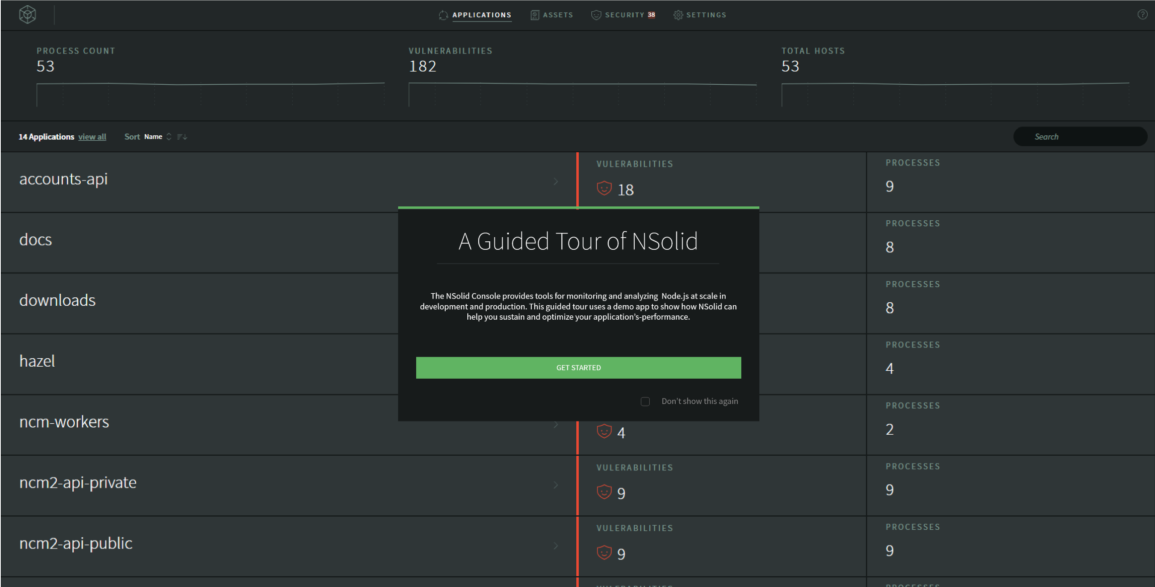
The command will launch a self-guided demo that runs a ready-made simulation to introduce you to NSolid’s performance monitoring and diagnostic features.
It will open a a new browser window or tab pointing to the default N|Solid Console URL: http://localhost:6753/. There you will be asked to authenticate with your accounts.nodesource.com credentials before the console drops you into the self-guided demo experience.
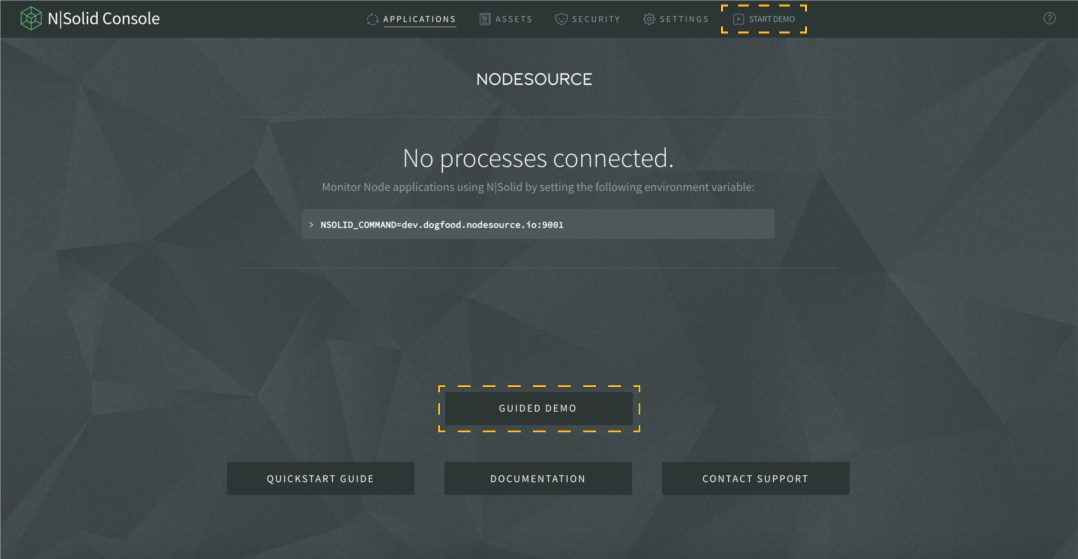
Because this runs a simulated application, the demo uses zero infrastructure resources and does not interfere with any of the applications you may connect to the console.
As such, the demo can also be accessed in on-prem and cloud deployments via the ‘Start Demo’ and ‘Guided Demo’ buttons.
Try N|Solid - Bring your own application
It is possible to use N|Solid Quickstart to launch your own applications. There are two options: execute a JavaScript file or execute an NPM task.
To lauch your application from a JavaScript file just execute:
$ npx nsolid-quickstart --exec index.js
The above command is the equivalent of running node index.js. Just replace index.js with the right name for your script.
To execute your application from an NPM task execute the following command:
$ npx nsolid-quickstart --npm dev
This is the equivalent of running npm run dev, just replace dev with the right name for your NPM task.
Quickstart Help
There are many options included, like --lts, which allow to switch to a different Node.js LTS version (by default gallium is used), to see all available options execute:
$ npx nsolid-quickstart
Installing via the Microsoft Installer for Windows 10
To install the N|Solid Runtime and Console via the MSI bundle for Windows 10 complete the following steps:
- Go to accounts.nodesource.com
- Click on the Windows tab and download the package
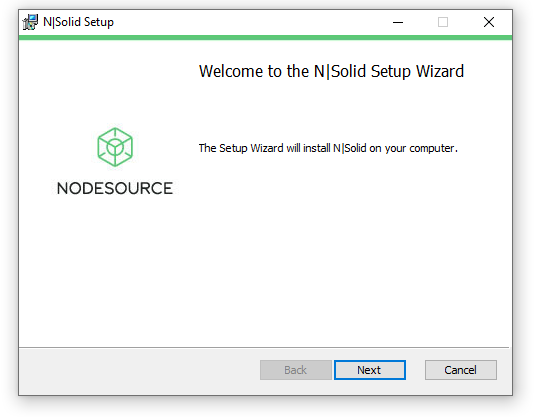
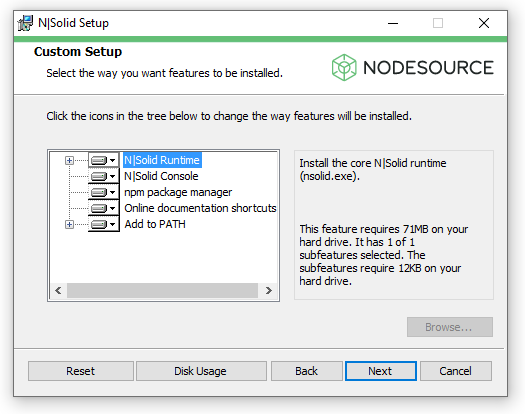
- Double click on the downloaded
MSIfile and follow the instructions to install the necessary N|Solid and Node.js components.
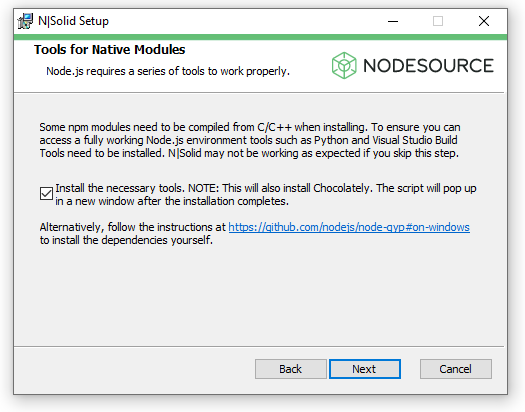
- Some npm modules need to be compiled from C/C++ when installing. To ensure you can access a fully working node environment select tools such as Python and Visual Studio Build Tools need to be installed. PLEASE NOTE: N|Solid may not be working as expected if you skip this step. This will also install Chocolatey. This script will pop up in a new PowerShell after the instalation is complete.
-
Once N|Solid's major components are intalled a PowerShell will pop up automatically to install Chocolatey, and other Node.js dependencies.
-
You may be asked to restart your operating system. Please preceed to do so.
-
Once your system has rebooted the N|Solid Console should start automatically if you installed it using the MSI package.
-
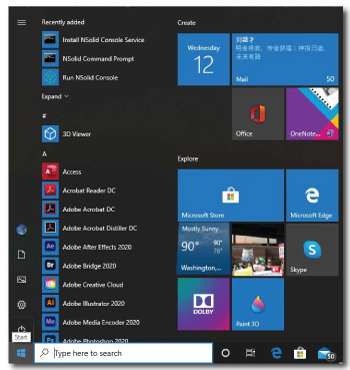
Alternatively you can always search for the NSolid app in the Windows search bar and start the service by clicking the app icon:
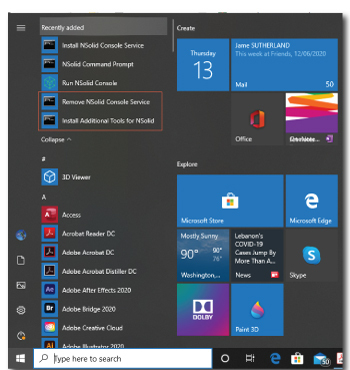
PLEASE NOTE: You can optionally 'Remove' or 'Install' the N|Solid Console Service via the corresponding shortcuts in the Windows Start menu:
Installing via the macOS Developer Bundle
To install N|Solid via the Developer Bundle for macOS:
- Go to accounts.nodesource.com
- Click on the macOS button to get an installable package
- Double click on the downloaded
pkgfile and follow the instructions to install the N|Solid compoments
Installing via Homebrew
To install N|Solid via Homebrew, first make sure you have Homebrew installed and that it is up to date.
$ brew update
First, add the nsolid tap:
$ brew tap nodesource/nsolid
Now you can install N|Solid:
$ brew install nsolid-console
This will install both the N|Solid Runtime and N|Solid Console.
For more information on our Homebrew packages, see our repository.
Setting Up the N|Solid Console
Once installed, using N|Solid is fairly straightforward. To launch the Console on macOS, open a terminal window and enter the command:
$ nsolid-console
Note: You do not have to be the
rootuser to run the console, only to install it. Logs for each process can be found under/tmp/nsolid-*.
Linux users: The N|Solid Console will start automatically using your system init scripts if you installed using the Linux distribution packages
Once the Console is running, you can see the user interface by opening a new web browser window to http://localhost:6753.
You should be redirected to http://localhost:6753/welcome, where you can register your Console using your NodeSource Accounts login. Be sure to pick the correct organization as it controls who may access your Console.
Once registered, you should be immediately redirected to the N|Solid console.
Running Node Applications in N|Solid
The next step is to configure your shell to use the N|Solid Runtime.
Open a second Terminal window and run:
$ source /usr/local/nsolid/nsolid-env
This will activate the N|Solid shell.
This is only included in the macOS Developer Bundle. If you installed via Homebrew, MSI Installer for Windows 10 or Linux packages, this is not needed.
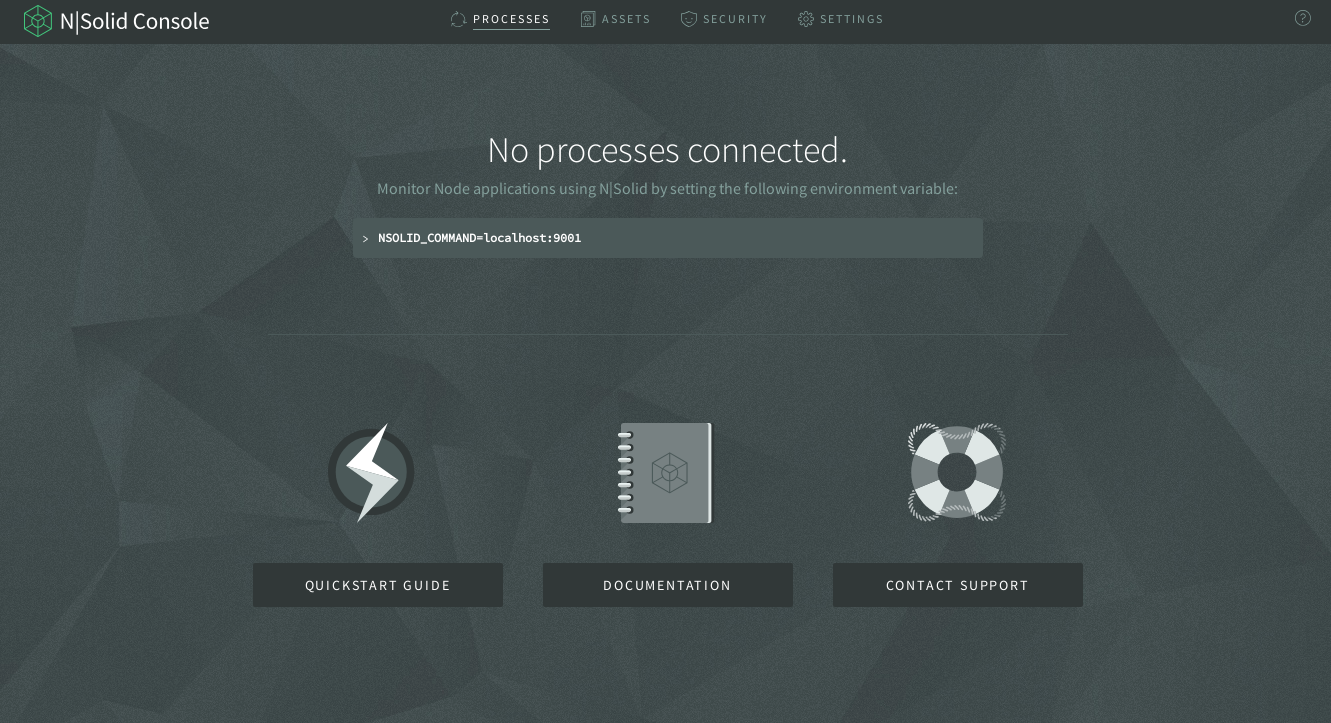
Any Node application that you start from within the N|Solid Shell will then be shown in the N|Solid Console.
For example, monitor the Node.js REPL using N|Solid by running:
$ NSOLID_APPNAME="REPL" NSOLID_COMMAND="localhost:9001" nsolid
If you have an existing Nodejs application, e.g. "index.js", you can monitor it with N|Solid by running:
$ NSOLID_APPNAME="My_Application" NSOLID_COMMAND="localhost:9001" nsolid index.js
You can customize the name of your application in the N|Solid Console by changing the NSOLID_APPNAME environmental variable. If you do not specify an app name, N|Solid will look for a 'name' property in your package.json, and if that is not found your application will be named untitled application.
You are now ready to use N|Solid for your own applications!
