GitHub MCP Server Integration
The GitHub MCP Server connects AI tools directly to GitHub's platform. This gives AI agents, assistants, and chatbots the ability to read repositories and code files, manage issues and PRs, analyze code, and automate workflows through natural language interactions.
How N|Solid Console Uses GitHub MCP N|Solid Console integrates with the Remote GitHub MCP Server to automate pull request creation in the AI report workflow. When you generate performance analysis reports using the AI Assistant, the system can automatically create pull requests with recommended code changes directly to your GitHub repositories.
Overview
The GitHub MCP Server integration enables:
- Automated Pull Requests: Sentinel creates PRs with optimized code after successful benchmarks
- Seamless Workflow: From optimization to PR creation with minimal manual steps
Prerequisites
Before setting up the GitHub integration, ensure you have:
- Administrative access to your GitHub organization or repository
- Access to the N|Solid Console Settings page
- A PAT created by following the guide provided in the about section of the integration, and in this doc
Creating a Fine-Grained Personal Access Token (PAT)
- Navigate to GitHub Settings
- Find and access Developer Settings in the left sidebar
- Under Person access tokens, click Fine-grained tokens and generate a new token following the practices below
Token Descriptors and Settings
- Enter a descriptive Token name (e.g., "N|Solid Console MCP")
- Set an Expiration date (recommended: 90 days or less for security)
- Optionally add a Description explaining the token's purpose
Resource Owners
- Choose the account or organization that owns the repositories
If selecting an organization, you may need approval from an admin
Configure Repository Access
- Select Only select repositories
- Choose the specific repositories where you want to create pull requests
This follows the principle of least privilege for better security
Set Repository Permissions
The token needs the following repository permissions:
- Contents: Read and write (to create branches and files)
- Pull requests: Read and write (to create and manage PRs)
- Metadata: Read (automatically included)
Generate and Save Token
- Click Generate token
- Important: Copy the token immediately and store it securely
- You won't be able to see it again after leaving the page
Pending Approval
If you selected an organization as the resource owner and the organization requires approval for fine-grained tokens, your token will be marked as pending until reviewed by an organization administrator. Contact your organization admin to approve the token request.
Installing the GitHub MCP Server
To enable Sentinel to create pull requests in your repositories, you need to install the Github MCP Server
Installation Steps
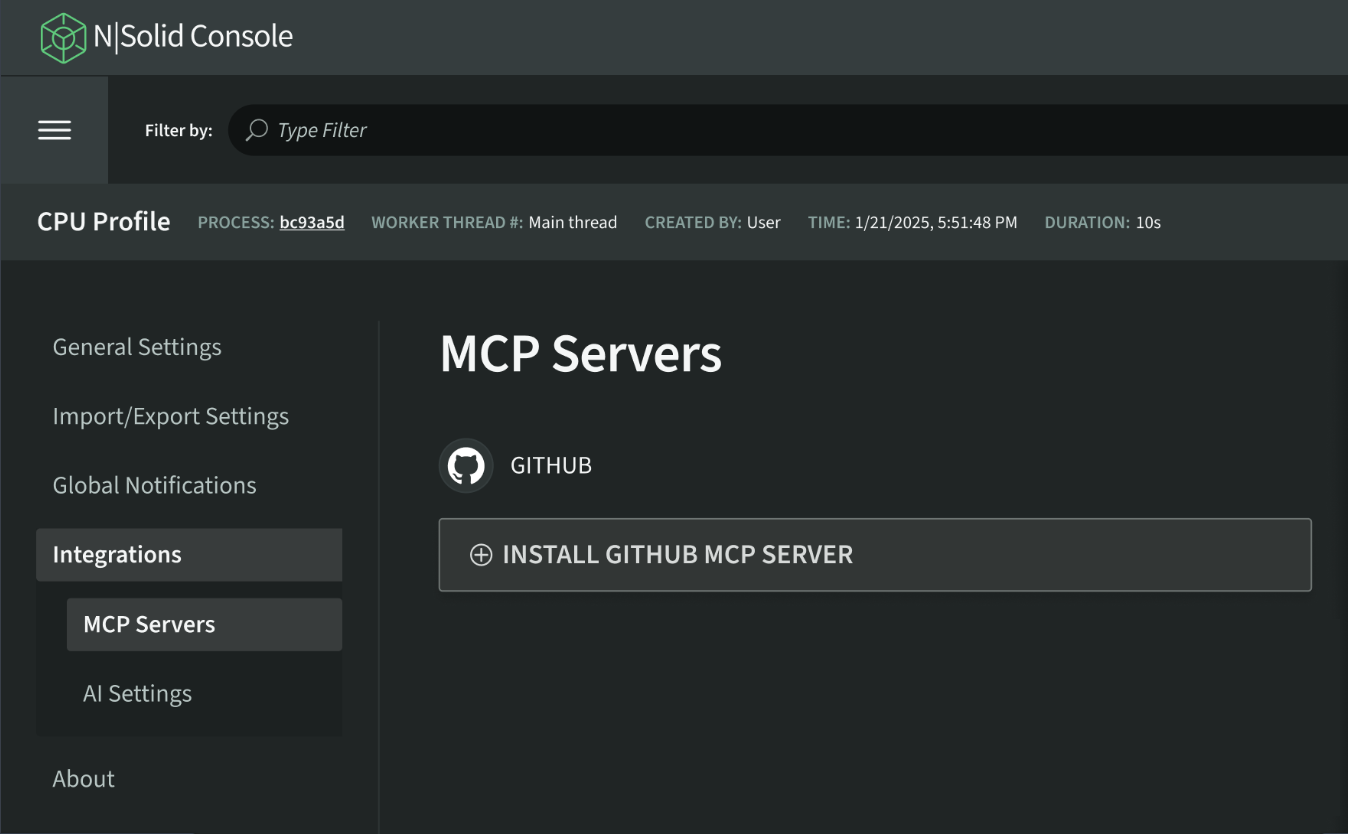
- Navigate to Settings in the N|Solid Console
- Select MCP Servers under the Integrations dropdown in the left side menu
- Locate the GitHub card
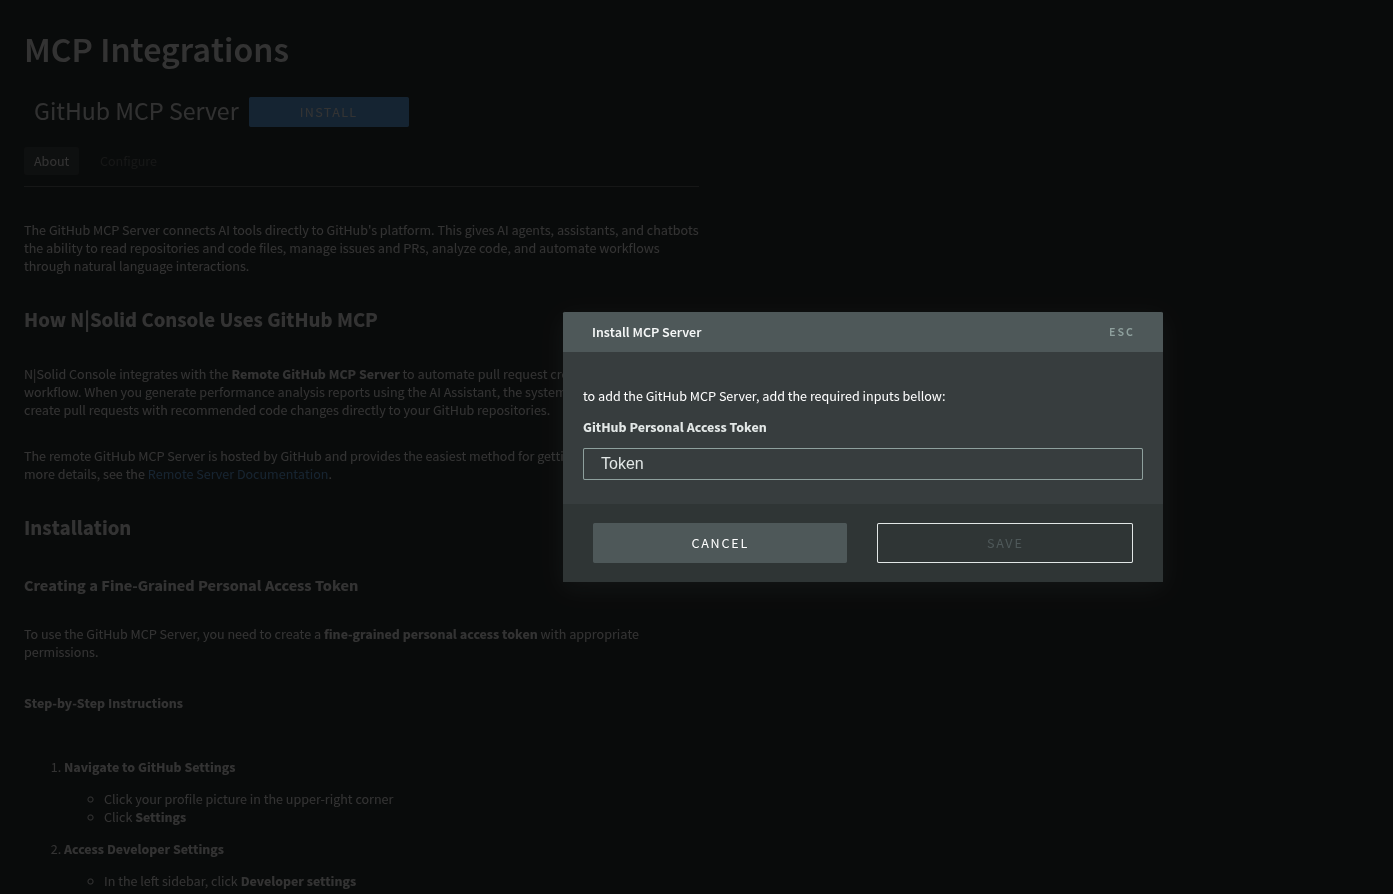
- Click the Install Github MCP Server button
- You will be given a model where you can input your PAT
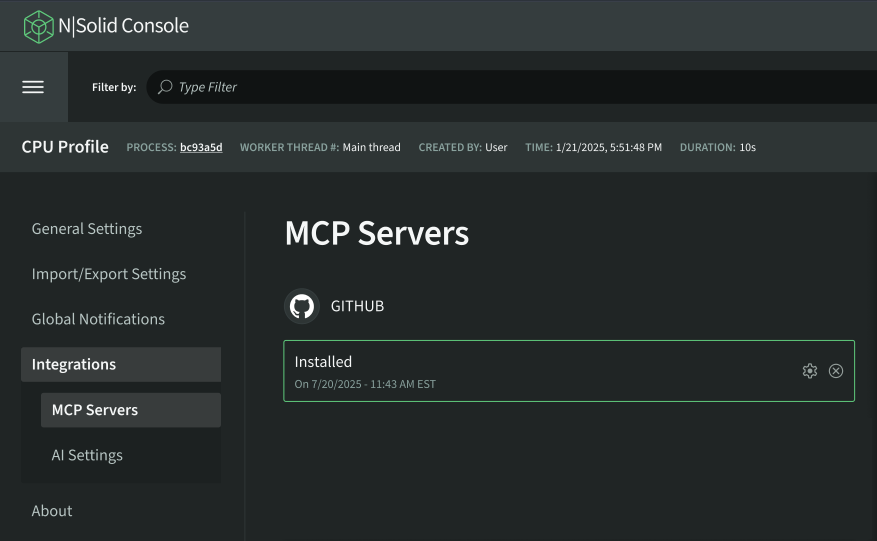
Verifying Installation
After installation, the GitHub Server card in the Integrations page will display:
- Installation Status: Shows as "Installed" with a checkmark
Using GitHub Integration with Sentinel
Once the GitHub integration is configured, Sentinel can automatically create pull requests when it identifies successful optimizations.
Optimization Workflow
- Start Optimization: Initiate a Sentinel optimization through the AI report button of a CPU Profile
- Analysis & Benchmarking: Sentinel analyzes your code and generates optimizations
- Benchmark Results: Sentinel will provide a detailed report based on the CPU profile, and will provide back the optimized code if it performs better than the original version
-
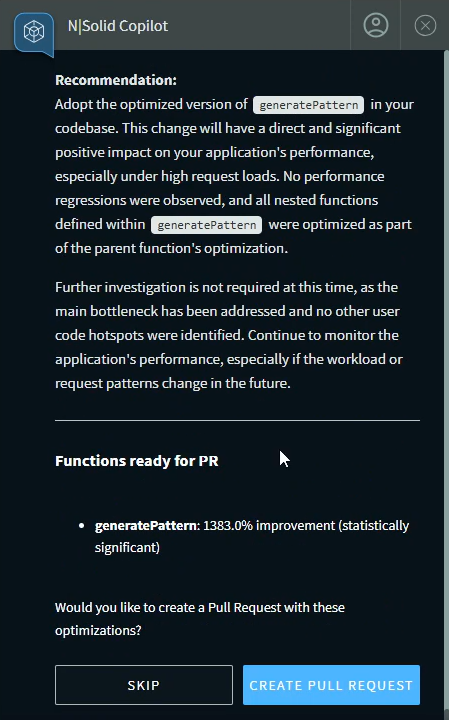
PR Prompt: After successfully creating and benchmarking an optimized function, Sentinel will display the functions ready for PR and ask: "Would you like to create a Pull Request with these optimizations?"
-
Confirm PR Creation: Click CREATE PULL REQUEST to proceed to the org, repo and branch selection window
-
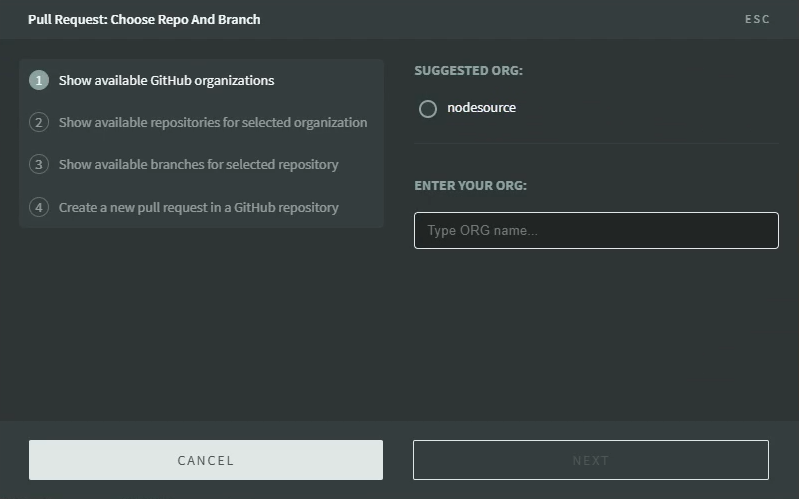
ORG Selection: The integration will provide a suggested org(s) to select, a user can also input a specific org in the dialogue box
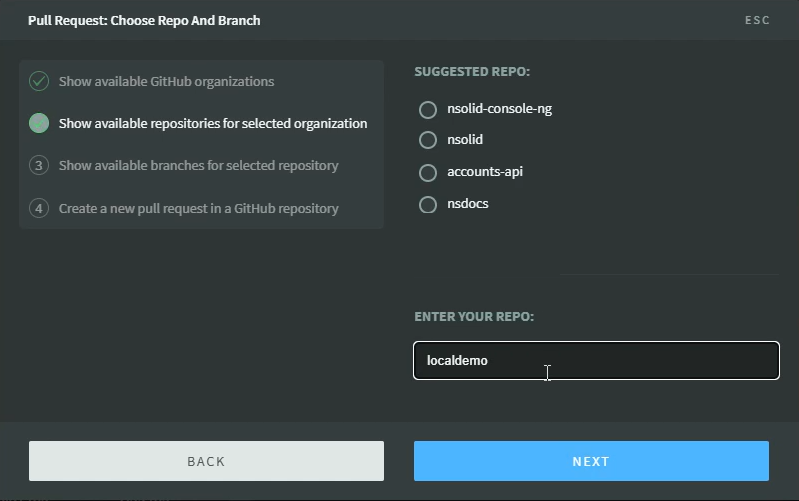
- REPO Selection: Next it will display suggested repositories to work in that can also be specified with the dialogue box
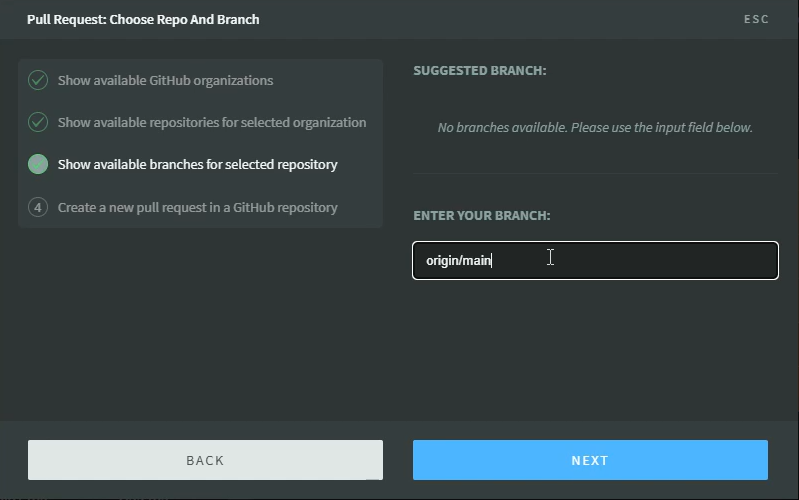
- Branch Selection: You will then be asked to select the branch that Sentinel should use for creating its new pull request from
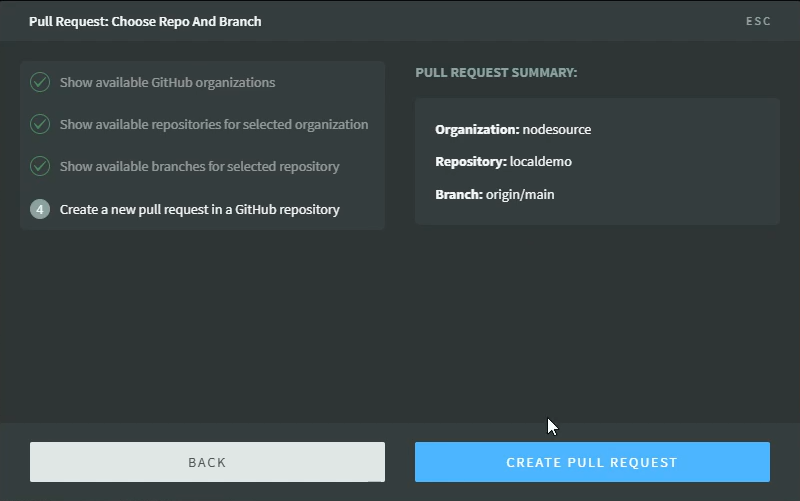
- Summary: You will then be shown the exact information you inputted for the pull request from the previous 3 steps before confirming the new pull request creation
What Happens Next
When you confirm PR creation, Sentinel will:
- Create a new branch in your repository
- Commit the optimized code with a descriptive message
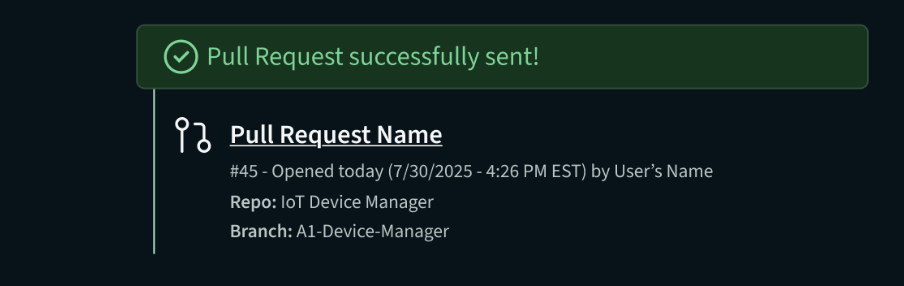
- Open a pull request with:
- Performance benchmark results
- Details about the optimization

- Display the PR URL in the Console for easy access
First-Time Setup During Optimization
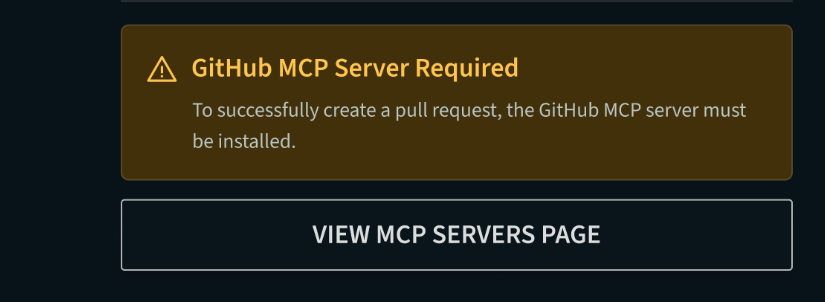
If you haven't installed the GitHub MCP Server when Sentinel prompts you to create a PR:
- Sentinel will display a message: "GitHub MCP Server Required"
- Click the VIEW MCP SERVERS PAGE link
- Complete the installation steps (see Installing the GitHub MCP Server)
- Return to the Console and confirm PR creation again
Skipping PR Creation
If you prefer not to create a pull request for a particular optimization:
- Click Skip PR when prompted
- The optimization report will be saved
- You can manually apply the changes later if desired
Managing Your GitHub Integration
Viewing Installation Details
To view your current GitHub MCP Server integration status:
- Go to Settings → MCP Integrations
- Locate the GitHub MCP Server card
- Review:
- Installation status
- Masked GitHub PAT under configurations
Updating Configuration
To change your Personal Access Token
- Click Configure on the GitHub MCP Server card
- Update your masked PAT
- Click Save
Removing the Integration
To disconnect the GitHub integration:
- In the GitHub App card, navigate to the Enabled dropdown
- Click Disabled to disable the integration or Uninstall to uninstall the integration
- Remove your PAT from the Configure page and delete the GitHub Token
Permissions and Security
The NodeSource Sentinel GitHub MCP Server requires minimal permissions through your PAT:
- Contents: Read and write access to create branches and commit code
- Pull Requests: Write access to open pull requests
Security Features
- Short-lived Tokens: Authentication tokens expire within minutes
- Scoped Access: The integration only accesses repositories you explicitly grant through your token
- Encrypted Storage: All credentials are encrypted using AWS KMS
- Audit Trail: All GitHub operations are logged for security review
Troubleshooting
Repository Not Listed
If your target repository doesn't appear in the repository list you can manually input the repository and branch names as shown in Optimization Workflow
Best Practices
- Review PRs Promptly: Sentinel-generated PRs should be reviewed and tested before merging
- Test Optimizations: Always run tests on optimized code before merging to production
Additional Resources
For more information about the GitHub MCP Server, see:
For more information about Github Personal Access Tokens, see:
For more information about Sentinel optimizations and AI-powered code improvements, see:
